How to Construct a Garden Bench: Materials List Included
Building a garden bench can be a rewarding project that enhances the beauty and functionality of your outdoor space. This guide will walk you through the necessary materials and provide tips on how to avoid common pitfalls during construction. Whether you are a novice or seasoned woodworker, a well-crafted garden bench is within your reach.
Materials List
- Wood - Choose durable, weather-resistant wood such as cedar, redwood, or pressure-treated pine. You will need:
- 2 pieces of 2x4 lumber for the seat (length depends on desired bench size)
- 2 pieces of 2x4 lumber for the backrest
- 4 pieces of 4x4 lumber for the legs
- Additional 2x4 pieces for support and bracing
- Wood screws - Use weather-resistant screws (at least 2.5 inches long) for securing the structure.
- Wood glue - For added strength in joints.
- Sandpaper - 120 and 220 grit for smoothing surfaces.
- Wood finish - A weather-resistant sealer or paint to protect your bench from the elements.
- Tools - Circular saw or miter saw, drill, measuring tape, square, and clamps.
Steps to Construct the Garden Bench
Now that you have gathered your materials, let’s outline the steps involved in constructing your garden bench.
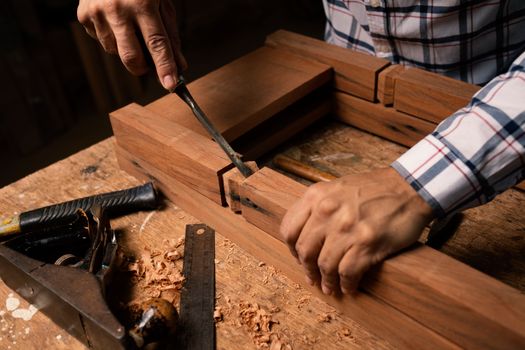
1. Measure and Cut the Wood
Start by measuring and cutting your lumber pieces according to your desired bench dimensions. Ensure that you double-check your measurements before making any cuts to avoid wasting materials. A common mistake here is miscalculating the dimensions, leading to uneven or unstable pieces.
2. Assemble the Seat
Take the two pieces of 2x4 lumber for the seat and attach them using wood screws and glue. Use clamps to hold them together while the glue sets. Make sure the surface is even and smooth. If you notice any gaps, use wood filler to fill them in before sanding.
3. Create the Legs
Cut the 4x4 pieces to the desired height for your bench. Attach the legs to the seat using screws and ensure they are positioned at a 90-degree angle. A common mistake is to misalign the legs, which can result in an unstable bench. Use a square to check your angles.
4. Attach the Backrest
For added comfort, attach the backrest using the remaining 2x4 pieces. It is crucial to ensure that the backrest is at an angle that supports the back comfortably. A common oversight is making the backrest too vertical, which may not provide adequate support.
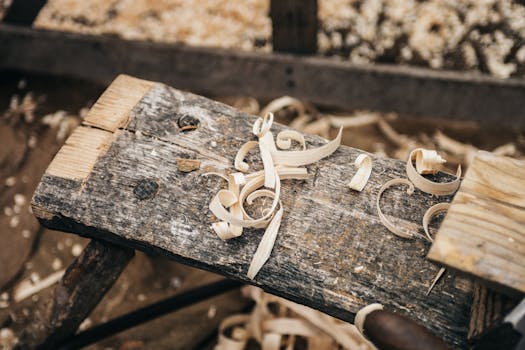
5. Sand and Finish
Once the bench is assembled, sand all surfaces to remove splinters and sharp edges. Start with a coarser grit (120) and finish with a finer grit (220). After sanding, apply a weather-resistant finish to protect your bench from moisture and UV damage.
Common Mistakes to Avoid
While constructing your garden bench, be aware of the following common mistakes:
- Not Using Quality Wood: Always choose high-quality, weather-resistant wood. Lower quality wood can warp or rot over time, compromising the integrity of your bench.
- Ignoring Measurements: Double-check all measurements before cutting. Mistakes here can lead to a misaligned and wobbly bench.
- Skipping the Finish: Failing to apply a finish can result in rapid deterioration of your bench due to exposure to the elements.
Troubleshooting Tips and Fixes
If you encounter issues during the construction process, here are some troubleshooting tips:
- Uneven Legs: If your bench wobbles, check that all legs are cut to the same length. You can also add rubber foot pads to balance uneven legs.
- Loose Joints: If joints feel weak, ensure you are using the correct length of screws. Consider applying wood glue in addition to screws for added strength.
- Rough Edges: If your bench has rough spots after sanding, go over it again with finer sandpaper or use a sanding block for better control.
For detailed plans and additional guidance, you can check out Ted Woodworking, which offers a plethora of woodworking plans to help you achieve your projects effectively.
Conclusion
Building a garden bench can be an enjoyable and fulfilling project that enhances your outdoor space. By following our materials list and construction guidelines while avoiding common mistakes, you can create a beautiful and sturdy bench that will last for years to come. Happy woodworking!
FAQ
- What type of wood is best for outdoor benches? Cedar and redwood are excellent choices due to their natural resistance to decay. Pressure-treated pine is also a budget-friendly option.
- How do I maintain my garden bench? Regularly clean your bench and reapply a weather-resistant finish every couple of years to protect it from the elements.
- Can I customize the size of my bench? Absolutely! Adjust the dimensions to suit your space and needs, just be sure to keep proportions balanced for stability.
📚 Related Articles
🔨 Want 16,000+ Woodworking Plans?
Get instant access to step-by-step plans with blueprints and cut lists.
Get Instant Access →