Introduction to Wainscoting
Wainscoting is a timeless design element that adds elegance and character to any room. This decorative wall treatment not only enhances the aesthetic appeal of your home but also protects your walls from scuffs and stains. If you're considering a DIY wainscoting project, this guide will walk you through the installation process while reviewing essential tools you will need.
Understanding Wainscoting Styles
Before diving into installation, it's important to understand the different styles of wainscoting:
- Raised Panel: Offers a traditional look with panels that have a raised center.
- Flat Panel: A more modern design with a sleek and simple appearance.
- Beadboard: Characterized by narrow vertical grooves, perfect for a cottage or farmhouse style.
- Board and Batten: Combines wide boards with narrow strips (battens) for a textured look.
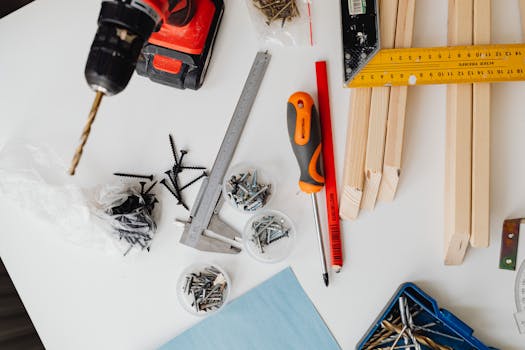
Essential Tools for Wainscoting Installation
To achieve a professional finish, the right tools are crucial. Below is a list of recommended tools along with their pros and cons:
1. Miter Saw
The miter saw is essential for making precise crosscuts and miter cuts needed for corners.
- Pros:
- Highly accurate cuts.
- Adjustable angles for miter cuts.
- Can handle various materials, including hardwoods.
- Cons:
- Can be expensive, depending on the model.
- Requires adequate space for setup.
2. Nail Gun
A nail gun speeds up the installation process significantly compared to using a hammer and nails.
- Pros:
- Faster than manual nailing.
- Provides consistent and strong holding power.
- Reduces risk of splitting wood.
- Cons:
- Initial investment could be high.
- Requires a compressor for pneumatic models.
3. Level
A level ensures that your wainscoting is installed straight, avoiding unsightly crooked lines.
- Pros:
- Simple and essential tool for accuracy.
- Inexpensive and easy to use.
- Cons:
- Basic models may lack advanced features.
- Only useful for leveling; doesn’t assist with cuts.
4. Measuring Tape
A reliable measuring tape is crucial for measuring lengths and spacing of panels.
- Pros:
- Versatile tool for multiple projects.
- Compact and easy to store.
- Cons:
- May require a second person for longer measurements.
- Wear and tear can affect accuracy over time.
5. Stud Finder
A stud finder helps locate wall studs for securely attaching your wainscoting.
- Pros:
- Prevents damaging electrical wiring or pipes.
- Ensures a solid installation.
- Cons:
- May not work well on certain wall types (e.g., plaster).
- Calibration issues can lead to false readings.
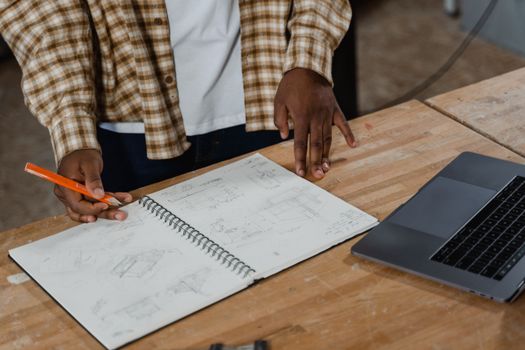
Steps to Install Wainscoting
Now that you have the necessary tools, follow these steps for a successful wainscoting installation:
Step 1: Measure and Plan
Start by measuring the area where you want to install wainscoting. Determine the height and layout, factoring in doors, windows, and other features.
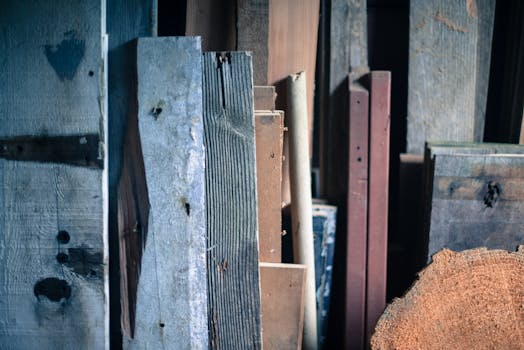
Step 2: Choose Your Materials
Decide on the type of wainscoting you want to install and gather your materials. You can find great plans and ideas from resources like Ted Woodworking, which offers a variety of blueprints and designs.
Step 3: Prepare the Walls
Ensure the wall surface is clean and smooth. Use a stud finder to locate studs where you will attach the panels.
Step 4: Cut Panels to Size
Using your miter saw, cut the panels to the desired height and length. Don’t forget to account for the corners if using miter cuts.
Step 5: Attach Panels
Begin attaching panels at one end of the wall, using your nail gun to secure them to the studs. Use a level to ensure each panel is straight.
Step 6: Add Trim and Finishing Touches
Once all panels are installed, add trim pieces to cover any gaps and provide a finished look. Caulk and paint as desired.
Conclusion
Installing wainscoting can transform your space, adding both beauty and function. With the right tools and a bit of patience, this DIY project can be accomplished in a weekend. Remember to consult resources like Ted Woodworking for further assistance and inspiration.
FAQ
1. What materials do I need for wainscoting?
You will need wainscoting panels, trim pieces, adhesive, nails, and paint or stain for finishing.
2. How high should wainscoting be installed?
Wainscoting is typically installed between 32 to 48 inches high, but it can vary based on personal preference and room design.
3. Can I install wainscoting over existing drywall?
Yes, wainscoting can be installed over existing drywall, but make sure the surface is clean and in good condition for the best results.
🔨 Want 16,000+ Woodworking Plans?
Get instant access to step-by-step plans with blueprints and cut lists.
Get Instant Access →