Introduction
Sanding is a crucial step in woodworking that can make or break the final appearance of your project. While it may seem straightforward, understanding when to sand and how to do it effectively requires a keen eye for detail and a commitment to precision. This guide dives deep into the advanced techniques for sanding wood projects, particularly focusing on joinery, precision, and achieving a professional finish.
Understanding the Sanding Process
Sanding is not just about smoothing surfaces; it plays an essential role in the overall aesthetic and longevity of your project. The goal is to remove imperfections, prepare the surface for finishing, and enhance the beauty of the wood grain. Knowing when to sand is as critical as knowing how to sand.
When to Sand Your Wood Projects
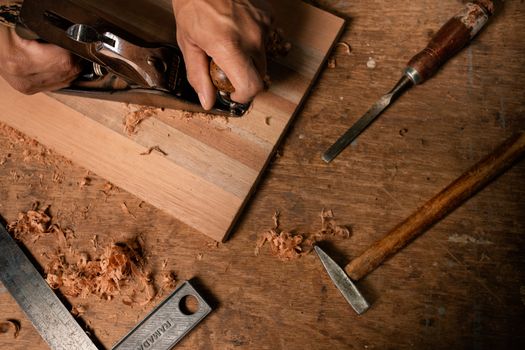
- After Joinery: Once your joints are glued and dried, sanding is essential to ensure a seamless transition between pieces. Use a low-grit sandpaper to knock down any glue squeeze-out and to smooth the edges of your joints.
- Before Finishing: Proper sanding before applying any finish is vital. Sanding removes surface impurities that could interfere with adhesion, ensuring that stains, paints, or finishes adhere properly.
- Between Coats: If you're applying multiple coats of finish, sanding between each coat (using a fine-grit paper) will help create a smooth surface for the next layer and improve adhesion.
- After Staining: Sometimes, a light sanding after staining can help to even out the color and improve the overall appearance, especially if the stain has raised the grain.
Advanced Sanding Techniques
Once you understand when to sand, the next step is mastering the techniques. Here are some advanced sanding strategies that can help you achieve a professional finish.
Grain Direction
Always sand with the grain of the wood rather than against it. Sanding against the grain can create scratches that become more pronounced once a finish is applied. Additionally, sanding with the grain will enhance the natural beauty of the wood.
Progressive Grits
Start with a coarser grit to remove material quickly and work your way up to a finer grit for a smooth finish. For most projects, a progression like 80, 120, and then 220 grit is effective.
Using Power Tools
While hand sanding is often invaluable for precise areas, power sanders can save you time on larger surfaces. Use a random orbit sander for flat surfaces to achieve a consistent finish without swirl marks. For intricate joinery, consider using a detail sander or sanding sponge.
Sanding Blocks and Techniques
For edges and corners, use sanding blocks to maintain a flat surface and avoid rounding over edges. When sanding end grain, be gentle, as this area can be more prone to tearing and damage.
Final Sanding Before Finish
Before applying your finish, perform a final sanding with a very fine grit (320 or higher) to prepare the surface. This step is crucial as it ensures the surface is as smooth as possible, allowing the finish to adhere evenly.
Choosing the Right Sandpaper
The type of sandpaper you select can significantly impact the outcome of your project. Here are some tips for choosing the right sandpaper:
- Aluminum Oxide: This is a durable option that is ideal for wood projects and can be used on both hand and power sanders.
- Garnet: Best for hand sanding, garnet sandpaper provides a smooth finish but wears out faster than aluminum oxide.
- Silicon Carbide: This type is great for sanding between coats of finish and works well on harder woods.
Finishing Touches
After sanding is complete, it's essential to clean the surface properly. Use a vacuum or compressed air to remove dust, and follow up with a tack cloth to catch any remaining particles. This step ensures that your finish goes on smoothly and evenly.
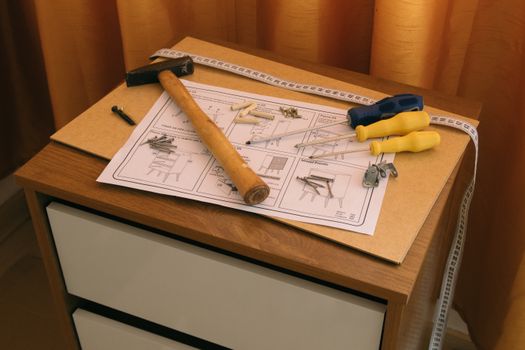
Resource Recommendation
If you are looking for detailed plans and guidance for your woodworking projects, consider checking out Ted Woodworking. They offer a range of plans that can help you incorporate advanced techniques into your projects.
Conclusion
Mastering when and how to sand your wood projects is essential for achieving a professional finish. By understanding the intricacies of sanding, from joinery to finishing touches, you can elevate your woodworking skills and produce stunning results that showcase your craftsmanship.
FAQs
- How do I know what grit sandpaper to start with? Generally, start with 80 or 120 grit for rough surfaces and work your way up to finer grits.
- Can I use a power sander for detail work? While power sanders are great for large areas, for intricate joinery, hand sanding may yield better results.
- Is it necessary to sand between coats of finish? Yes, sanding between coats helps to ensure a smooth final surface and improves adhesion of subsequent layers.
📚 Related Articles
🔨 Want 16,000+ Woodworking Plans?
Get instant access to step-by-step plans with blueprints and cut lists.
Get Instant Access →