Introduction
Finishing wood projects can be a daunting task for many beginners. However, with the right techniques and a few basic tools, you can achieve a professional finish that enhances the beauty of your woodworking projects. In this guide, we will cover the best techniques for finishing wood, ensuring that your hard work shines through.
Understanding Wood Finishing
Before diving into the techniques, it's essential to understand what wood finishing is. Wood finishing refers to the process of applying a protective and aesthetic layer to wood surfaces. This can involve stains, sealants, varnishes, or oils, each providing different looks and levels of protection.
Choosing the Right Finish
There are several types of finishes available, and selecting the right one depends on your project and desired outcome. Here are some popular options:
- Oil Finishes: These penetrate the wood, providing a natural look. Tung oil and linseed oil are common choices.
- Water-Based Finishes: Quick drying and easy to clean up, these are ideal for indoor furniture.
- Varnishes: Offering a hard, protective layer, varnishes are great for high-traffic areas.
- Shellac: This traditional finish provides a warm glow but is not as durable as modern options.
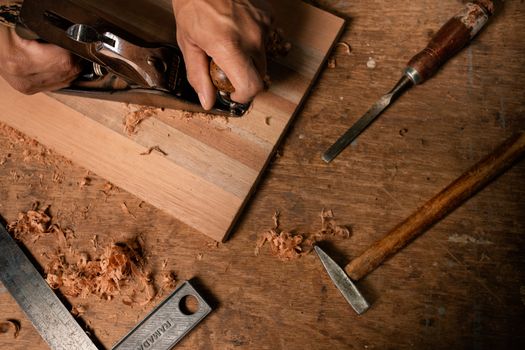
Basic Tools Needed for Finishing
For a beginner-friendly approach, you will need the following basic tools:
- Sandpaper (various grits)
- Brush or foam applicator
- Lint-free cloths
- Paint thinner or mineral spirits (for oil-based finishes)
- Protective gloves and a mask
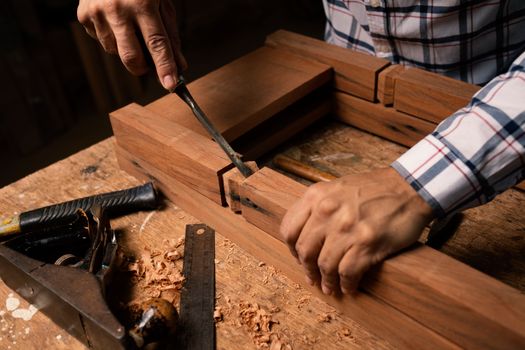
Step-by-Step Guide to Finishing Wood Projects
Step 1: Prepare the Surface
Preparation is key to achieving a flawless finish. Start by sanding the wood surface:
- Begin with a coarse grit sandpaper (around 80 to 120 grit) to remove any rough spots or imperfections.
- Progressively move to finer grits (up to 220 grit) for a smooth finish.
- Always sand in the direction of the wood grain to avoid scratches.
- After sanding, wipe the surface with a lint-free cloth to remove dust and debris.
Step 2: Apply the Finish
Once the surface is prepared, it's time to apply your chosen finish:
- If using an oil finish, pour a small amount onto a lint-free cloth and rub it into the wood. Allow it to soak in for 10-15 minutes and then wipe off any excess.
- For water-based finishes, use a brush or foam applicator to apply an even coat. Work in small sections and follow the wood grain.
- With varnishes, use a brush and apply thin, even coats. Avoid over-brushing to prevent bubbles.
Step 3: Let it Dry
Allow the finish to dry completely according to the manufacturer's instructions. This can take anywhere from a few hours to a day, depending on the type of finish used.
Step 4: Sand Between Coats
For the best results, you may want to apply multiple coats of finish. Sand lightly between coats with a fine grit sandpaper (320 grit) to promote adhesion and remove any imperfections. Ensure to wipe off the dust after sanding.
Step 5: Final Coat and Cure
Apply the final coat of your chosen finish, and allow it to cure fully. Curing times vary, so refer to the product label. During this time, avoid placing objects on the surface to prevent damage.
Additional Tips for a Professional Finish
- Test Your Finish: Always test your finish on a scrap piece of the same wood before applying it to your project.
- Work in a Well-Ventilated Area: Proper ventilation is crucial when working with finishes, especially oil-based products.
- Use Quality Products: Invest in high-quality finishes and tools. They can make a significant difference in the final outcome.
Resources for Woodworking Plans
If you're looking for project ideas and detailed plans, consider exploring Ted Woodworking. They offer a vast selection of woodworking plans that cater to all skill levels, making it easy to find your next project.
Conclusion
Finishing your wood projects doesn’t have to be intimidating. By following these simple steps and using basic tools, you can achieve a beautiful, professional look. Remember, practice makes perfect, so don’t hesitate to experiment with different finishes and techniques!
FAQ
1. How many coats of finish should I apply?
Typically, 2-3 coats of finish are recommended for the best protection and appearance, but this can vary based on the type of finish.
2. Can I use a spray finish instead of brushing?
Yes, spray finishes can provide a smooth, even application, especially for larger projects. Be sure to follow the manufacturer's instructions for best results.
3. How do I fix mistakes in my finish?
If you encounter issues like bubbling or unevenness, allow the finish to cure, then sand it down lightly and reapply the finish.
📚 Related Articles
🔨 Want 16,000+ Woodworking Plans?
Get instant access to step-by-step plans with blueprints and cut lists.
Get Instant Access →