Introduction
A sturdy workbench is a crucial element in any woodworker's shop. It serves as the foundation for all your projects, providing a stable surface for assembly, cutting, and finishing. However, building a quality workbench doesn't have to break the bank. In this article, we will guide you through the process of building a simple workbench for under $100, highlighting cost-saving tips and affordable materials.
Choosing Your Materials
When it comes to building a workbench on a budget, the choice of materials is paramount. Here are some affordable options:
- Plywood: A 4'x8' sheet of plywood can serve as the top of your workbench. Choose a sturdy grade, ideally 3/4" thick for durability.
- 2x4 Lumber: This is the backbone of your workbench. It’s inexpensive and readily available at most home improvement stores.
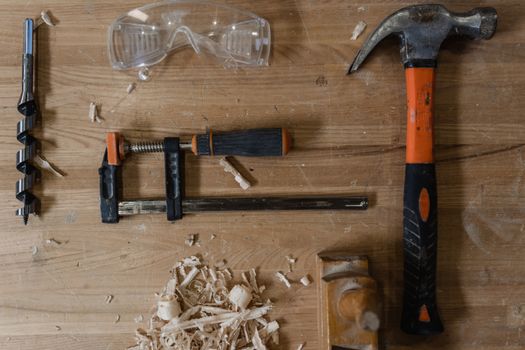
- Wood Screws: A box of screws will be essential for assembling the frame and attaching the top to the base.
- Sandpaper and Finish: While optional, a good finish can preserve your workbench for years. Look for affordable options like polyurethane or even a simple oil finish.
Cost-Saving Tips
To keep your project under $100, consider these cost-saving strategies:
- Shop Sales: Keep an eye on local home improvement stores for sales or discounts on lumber and materials.
- Use Scrap Wood: If you have leftover wood from previous projects, incorporate it into your workbench design.
- Buy Used: Check online marketplaces or local classifieds for used lumber or even an old workbench that you can repurpose.
- Plan Your Cuts: Minimize waste by planning your cuts carefully. This not only saves materials but also reduces costs.
Building Your Workbench
Now that you've gathered your materials and formulated a plan, it’s time to build your workbench. Follow these steps for a straightforward construction process:
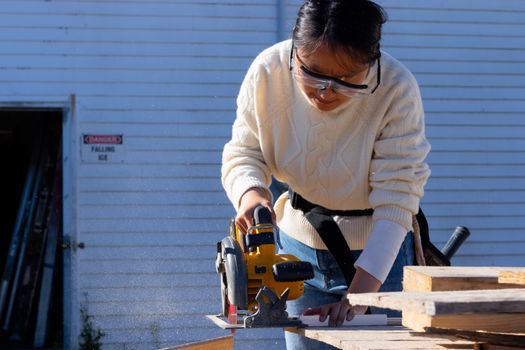
Step 1: Cutting the Lumber
Start by cutting your 2x4 lumber into the following pieces:
- 4 pieces at 4 feet (for the long sides)
- 4 pieces at 2 feet (for the short sides)
- 4 pieces at 3 feet (for the legs)
- 1 piece at 4 feet (for the workbench top)
Step 2: Assembling the Frame
Using your wood screws, assemble the frame of the workbench:
- Take two of the 4-foot pieces and attach them to two of the 2-foot pieces to form a rectangle. This will be one side of the frame.
- Repeat the process to create another rectangle with the remaining 4-foot and 2-foot pieces.
- Connect the two rectangles by attaching the legs at each corner using the 3-foot pieces. Ensure the frame is square by measuring the diagonals.
Step 3: Attaching the Workbench Top
Once the frame is stable, place the 4-foot plywood sheet on top. Center it on the frame and secure it using wood screws. Make sure to drill pilot holes to prevent the wood from splitting.
Step 4: Sanding and Finishing
Use sandpaper to smooth out the surface of the workbench. This step is crucial to avoid splinters and provide a nice surface for your projects. Once sanded, apply your chosen finish to protect the wood.
Additional Features
While the basic workbench is functional, consider adding features to enhance its usability:
- Tool Storage: Attach pegboards or shelves underneath to keep your tools organized.
- Vises: Install a bench vise on one end for clamping workpieces securely.
- Mobile Base: Add wheels to the legs for easy mobility in your workspace.
Final Thoughts
Building a simple workbench doesn't have to be an expensive endeavor. With careful planning, the right materials, and a bit of elbow grease, you can create a sturdy workbench for under $100. For more detailed plans and woodworking resources, consider visiting Ted Woodworking.
FAQ
1. Can I build a workbench without advanced woodworking skills?
Absolutely! This design is simple and beginner-friendly, making it perfect for new woodworkers.
2. How long will it take to build this workbench?
Depending on your experience level, expect to spend a few hours on this project, including preparation and finishing time.
3. What tools do I need to complete this project?
You will need basic tools such as a saw, drill, measuring tape, and a sander. Most of these can be rented if you don't own them.
📚 Related Articles
🔨 Want 16,000+ Woodworking Plans?
Get instant access to step-by-step plans with blueprints and cut lists.
Get Instant Access →