Introduction
Building a raised garden bed is a fantastic way to enhance your outdoor space while providing a perfect environment for your plants. Not only do they help with soil drainage and aeration, but they also allow for easier maintenance and a longer growing season. In this article, we will explore three easy methods to construct a wooden raised garden bed, along with the tools you'll need for the job.
Method 1: Basic Wooden Frame
This method involves constructing a simple rectangular frame that can be filled with soil. It’s ideal for beginners and requires minimal tools.
Tools Needed
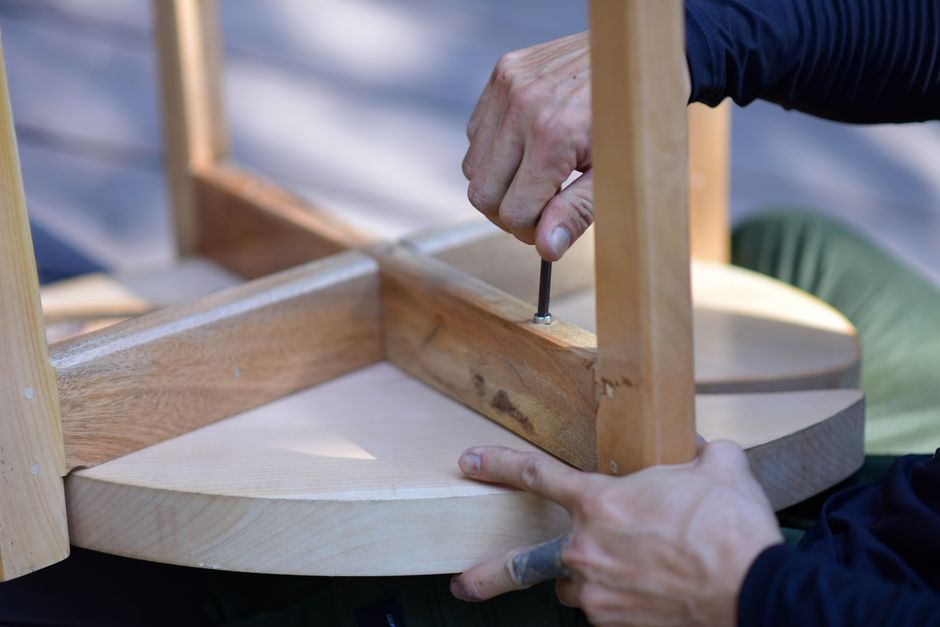
- Power Drill: A versatile tool for drilling holes and driving screws.
Pros: Fast and efficient.
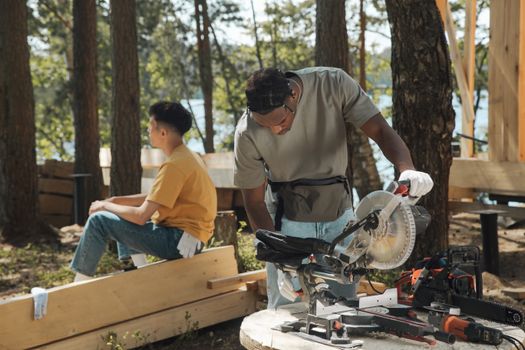
Cons: Can be heavy and may require a battery charge. - Circular Saw: Perfect for cutting wood to size.
Pros: Precise cuts and quick operation.
Cons: Requires safety awareness and practice. - Screws and Wood Glue: For securing the frame together.
Pros: Strong bond and easy to use.
Cons: Screws may rust if not galvanized.
Steps to Construct
- Choose your wood (cedar or redwood is recommended for durability).
- Cut four pieces of wood to your desired length and width.
- Drill pilot holes to prevent wood from splitting.
- Assemble the frame using screws and wood glue.
- Place the frame in your chosen location and fill with soil.
Method 2: Corner Braced Bed
This method adds stability to your garden bed by using corner brackets, making it suitable for larger beds.
Tools Needed
- Miter Saw: For precise angle cuts.
Pros: Ideal for angled cuts and complex projects.
Cons: Can be expensive and requires practice. - Level: Ensures your bed is even.
Pros: Easy to use and crucial for stability.
Cons: Not always necessary for smaller beds. - Corner Brackets: To reinforce the corners.
Pros: Provides extra strength.
Cons: Additional cost and installation time.
Steps to Construct
- Cut your wood to the desired lengths.
- Attach corner brackets to each corner of the frame.
- Use a level to ensure everything is even before securing.
- Secure the frame with screws and fill it with soil.
Method 3: Tiered Raised Garden Bed
This design is more advanced and offers a beautiful aesthetic in your outdoor space while maximizing growing area.
Tools Needed
- Table Saw: For ripping wood into uniform sizes.
Pros: Extremely precise and versatile.
Cons: Requires a larger workspace and safety precautions. - Clamps: Hold pieces together while assembling.
Pros: Very helpful for stability.
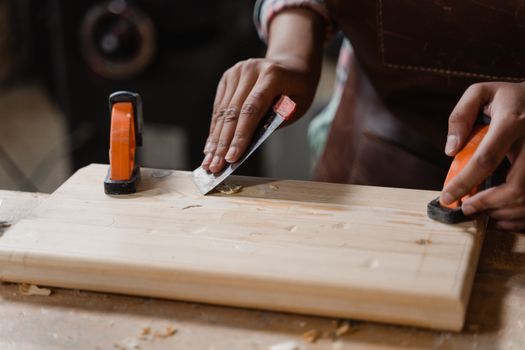
Cons: Can be cumbersome with larger pieces. - Measuring Tape: For accurate measurements.
Pros: Essential for any woodworking project.
Cons: Can be inaccurate if not used carefully.
Steps to Construct
- Plan your design and determine the number of tiers.
- Cut wood to the appropriate lengths for each tier.
- Assemble each tier separately, securing with screws and wood glue.
- Stack the tiers, using clamps for stability while securing.
- Fill with soil and plant your favorite herbs or vegetables.
Using Plans as a Resource
If you're looking for detailed plans and guidance on building your raised garden bed, consider checking out Ted Woodworking. They offer a wide range of woodworking plans that can help you create the perfect raised garden bed tailored to your specifications.
Conclusion
Constructing a wooden raised garden bed is an excellent way to enhance your gardening experience. Whether you choose a basic frame, a corner-braced bed, or a tiered design, the right tools will make the process easier and more enjoyable. By following these methods, you'll be well on your way to creating a thriving garden in your backyard.
FAQs
- What type of wood is best for raised garden beds?
Cedar and redwood are popular choices due to their natural resistance to rot. - How deep should my raised garden bed be?
A depth of 12 to 24 inches is generally recommended for most vegetables. - Do I need to line my raised garden bed?
Lining can help prevent soil from leaching out, especially if you're using untreated wood.
📚 Related Articles
🔨 Want 16,000+ Woodworking Plans?
Get instant access to step-by-step plans with blueprints and cut lists.
Get Instant Access →