Introduction
Creating professional shop drawings is an essential skill for any woodworker looking to bring their furniture projects to life. Whether you are a seasoned craftsman or just starting, having clear and precise drawings can make the difference between a successful build and a frustrating experience. In this guide, we will walk you through the steps to create shop drawings that will serve as a roadmap for your projects.
Why Create Shop Drawings?
Shop drawings are a detailed visual representation of your woodworking project. They provide important information such as dimensions, materials, and assembly instructions. Here are a few reasons why shop drawings are beneficial:
- Clarity: They clarify your ideas and help you visualize the final product.
- Planning: They allow for better planning of materials and tools needed.
- Efficiency: They can save time during the building process by reducing errors.
- Reference: They serve as a reference for future repairs or modifications.
Step-by-Step Guide to Creating Shop Drawings
Step 1: Gather Your Tools
To create shop drawings, you will need a few basic tools. Here’s what you’ll need:
- Pencil and eraser
- Ruler or straightedge
- Graph paper or a computer with drawing software
- Protractor (optional for angles)
- Measuring tape
Step 2: Define Your Project
Before you start drawing, define what you want to build. Consider these questions:
- What type of furniture are you making?
- What are the dimensions of the space where the furniture will go?
- What materials will you be using?
Once you have a clear vision, you can start sketching out your ideas.
Step 3: Create a Rough Sketch
Using your pencil and graph paper, create a rough sketch of your project. Focus on the overall shape and proportions. Don’t worry about details at this stage; just get your ideas down on paper.
Step 4: Add Dimensions
Once you have your rough sketch, it’s time to add dimensions. Use your ruler to draw straight lines and mark the lengths of each component. Be sure to include:
- Height
- Width
- Depth
- Thickness of materials
Adding these dimensions will help you understand how each part fits together.
Step 5: Detail Your Drawing
Now that you have the basic shape and dimensions, it’s time to add details:
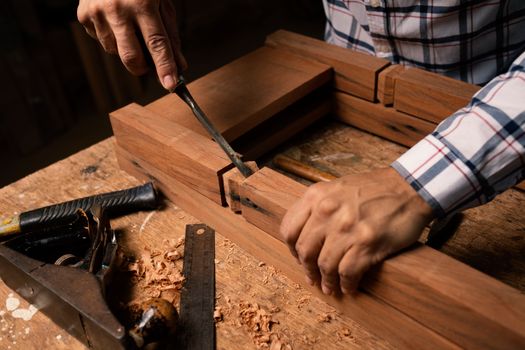
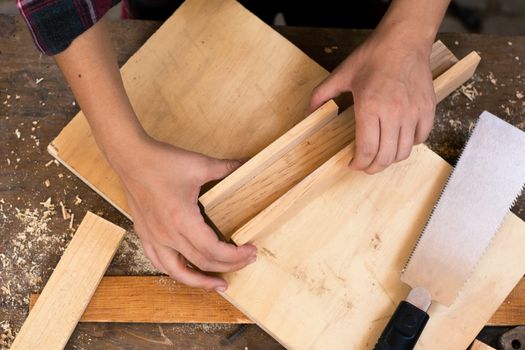
- Show joinery methods (e.g., dowels, screws, or mortise and tenon).
- Indicate the type of wood or materials you plan to use.
- Mark any hardware locations (e.g., hinges, drawer slides).
The more detailed your drawings, the easier it will be to follow them during the build.
Step 6: Create Multiple Views
Professional shop drawings often include multiple views of the furniture piece. Consider adding:
- Front view
- Side view
- Top view
- Isometric view (for a 3D perspective)
These views provide a comprehensive understanding of the project from all angles.
Step 7: Use Software If Desired
If you prefer working digitally, there are many software options available for creating shop drawings. Programs like SketchUp or AutoCAD allow for precise measurements and easy adjustments. Additionally, Ted Woodworking offers a variety of plans that can help you get started with digital designs.
Step 8: Review and Revise
Take a moment to review your drawings. Check for accuracy and completeness. Make any necessary revisions to ensure everything is clear and easy to understand. You may want to ask a fellow woodworker for feedback.
Step 9: Prepare for Building
With your finalized shop drawings in hand, you are now ready to begin your woodworking project. Use your drawings as a guide throughout the building process, and refer back to them as needed.
Conclusion
Creating professional shop drawings for woodworking projects does not have to be intimidating. By following these simple steps and using basic tools, you can produce clear and effective drawings that will guide you through your projects. Remember, practice makes perfect, so don't hesitate to draw and redesign until you find what works best for you!
FAQ
What if I make a mistake in my drawings?
Don’t worry! Mistakes are part of the learning process. You can easily erase and correct them, or if you’re working digitally, make adjustments with a few clicks.
How detailed should my shop drawings be?
As a beginner, focus on including key dimensions and joinery methods. As you gain more experience, you can add more details and notes to your drawings.
Where can I find inspiration for my shop drawings?
There are many resources available online, including websites like Ted Woodworking, which offer plans and ideas to inspire your own designs.
📚 Related Articles
🔨 Want 16,000+ Woodworking Plans?
Get instant access to step-by-step plans with blueprints and cut lists.
Get Instant Access →