How to Create a Rustic Wooden Fire Pit: 7 Simple Steps
Building a rustic wooden fire pit can be a fantastic addition to your outdoor space, providing warmth and ambiance for gatherings with family and friends. Whether you want a cozy spot for roasting marshmallows or a charming focal point in your backyard, this project is achievable with some basic woodworking skills. In this article, we will guide you through the process in 7 simple steps while also reviewing the essential tools you will need to get the job done.
Step 1: Gather Your Materials
Before you start building your rustic wooden fire pit, gather all the necessary materials. You'll need:
- Pressure-treated wood (e.g., cedar or redwood)
- Concrete for the base
- Fire pit bowl (optional)
- Screws and nails
- Wood stain or sealant (for added protection)
Step 2: Choose the Right Location
It's crucial to select a safe and suitable location for your fire pit. Look for an open area away from overhanging branches, structures, or flammable materials. Make sure to check local regulations regarding fire pit placement.
Step 3: Mark Your Design
Using stakes and string, mark the outline of your fire pit on the ground. A common size is 4 feet in diameter, but you can adjust this based on your space and needs. A rustic fire pit typically has a circular or square shape.
Step 4: Digging the Base
Once your design is marked, you’ll need to dig out the area. A depth of about 4-6 inches is ideal for the base. Remove any grass or debris to create a clean surface for the next steps.
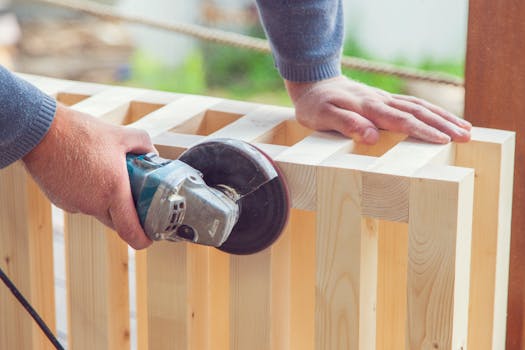
Step 5: Build the Frame
To create a sturdy frame, you will need the following tools:
- Power Drill: Essential for drilling holes and driving screws. Look for a cordless model for convenience.
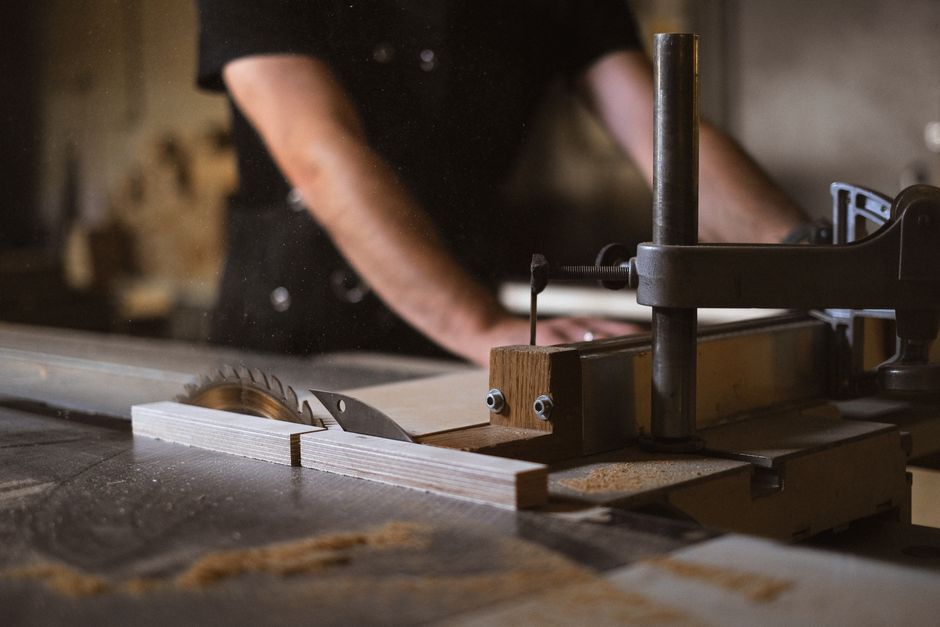
- Circular Saw: Great for cutting wood to size. A good quality saw makes clean cuts and saves time.
- Measuring Tape: Ensure accurate measurements for your fire pit.
- Screwdriver: Necessary for assembling the frame pieces.
Pros: Cordless power drills offer mobility, while circular saws make quick work of dimensional lumber. Measuring tape is essential for precision, and screwdrivers are versatile for various projects.
Cons: Power tools can be expensive, and beginners may require some practice to use them effectively.
Using the pressure-treated wood, cut your pieces to create the frame. Attach the pieces together using screws, ensuring everything is level and secure.
Step 6: Add the Base and Fire Pit Bowl
Pour concrete into the dug-out area to create a solid base. Allow it to cure according to the manufacturer's instructions. If you are using a fire pit bowl, place it in the center of the base once the concrete is set.
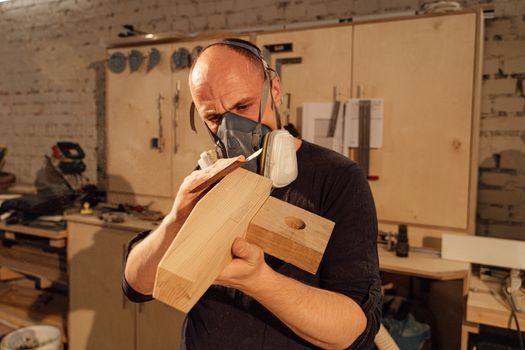
Step 7: Finishing Touches
Once the frame is securely in place and the base is cured, you can apply wood stain or sealant to enhance the rustic appearance and protect the wood from the elements. Consider using a natural stain that complements the wood's grain.
For those looking for detailed plans and additional guidance, Ted Woodworking offers a wealth of resources that can help you with this project and many others. Their comprehensive plans include step-by-step instructions and material lists, making woodworking accessible for everyone.
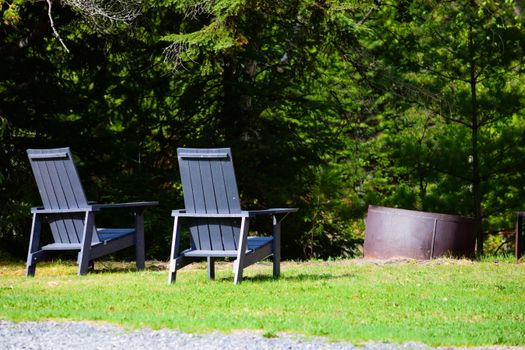
Conclusion
Congratulations! You have successfully built a rustic wooden fire pit that can serve as the perfect gathering spot for your outdoor space. With the right tools and a bit of patience, you can enjoy countless evenings under the stars, sharing stories and creating memories.
FAQ
- 1. How long does it take to build a rustic wooden fire pit?
Depending on your skill level and the complexity of the design, it can take anywhere from a few hours to a weekend. - 2. What type of wood is best for a fire pit?
Pressure-treated wood, cedar, or redwood are ideal choices due to their durability and resistance to rot. - 3. Do I need a permit to build a fire pit?
It depends on local regulations. Always check with your local authorities before starting construction.
📚 Related Articles
🔨 Want 16,000+ Woodworking Plans?
Get instant access to step-by-step plans with blueprints and cut lists.
Get Instant Access →