How to Build a Custom Bookshelf in 5 Easy Steps
Building your own custom bookshelf can be an incredibly rewarding project, especially if you love reading and want to display your collection in style. In this beginner-friendly guide, we will walk you through the process of creating a beautiful and functional bookshelf in just five easy steps. All you need are some basic tools and materials, and you’ll be on your way to enhancing your home decor!
Step 1: Gather Your Tools and Materials
Before you begin your bookshelf project, it’s essential to gather all the necessary tools and materials. Here’s a list of what you’ll need:
- Tools:
- Measuring tape
- Pencil
- Level
- Drill
- Screwdriver
- Saw (circular or hand saw)
- Sander or sandpaper
- Clamps
- Materials:
- Plywood or MDF boards (choose the size according to your design)
- Wood screws
- Wood glue
- Wood stain or paint (optional)
- Finish (polyurethane or sealant, optional)
For detailed plans and designs, consider using resources like Ted Woodworking, which offers a variety of bookshelf plans suitable for all skill levels.
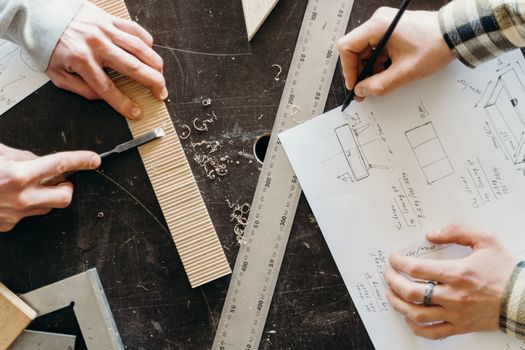
Step 2: Design Your Bookshelf
Before cutting any wood, take the time to design your bookshelf. Consider the following:
- What dimensions do you want your bookshelf to be?
- How many shelves do you want, and how far apart should they be?
- What style do you prefer (modern, rustic, etc.)?
- Will you need additional features like doors or decorative elements?
Sketch out your design on paper and make sure to include measurements. This will serve as your blueprint throughout the building process.
Step 3: Cut Your Wood
Now that you have your design, it’s time to cut the wood to size. Follow these steps:
- Measure and mark your wood according to your design using a pencil.
- Using a saw, carefully cut along your marked lines. Always prioritize safety by wearing goggles and using clamps to secure the wood.
- After cutting, use a sander or sandpaper to smooth any rough edges. This will help prevent splinters and ensure a clean finish.
Make sure all pieces are cut accurately to ensure a snug fit when assembling your bookshelf.
Step 4: Assemble the Bookshelf
With all your pieces cut and sanded, it’s time to put your bookshelf together. Here’s how:
- Start by laying out the pieces according to your design. This will give you a visual reference before assembly.
- Using wood glue, attach the side pieces to the bottom piece of your bookshelf. Secure them with clamps and let the glue dry for about an hour.
- Next, attach the shelves to the side pieces. Measure to ensure they are evenly spaced. Use wood screws to secure them in place.
- Once all shelves are attached, add the top piece to complete the frame. Make sure everything is level and square.
Check that all connections are secure and make any necessary adjustments.
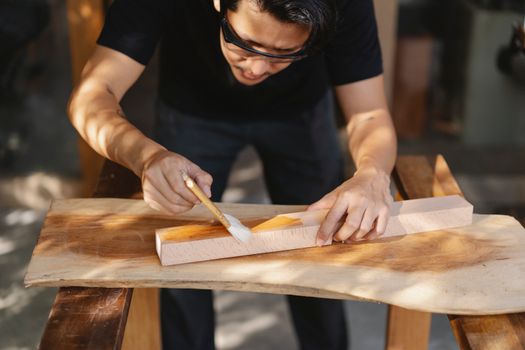
Step 5: Finish Your Bookshelf
The final step is to finish your bookshelf. This not only enhances its appearance but also protects the wood. Follow these steps:
- If desired, apply a wood stain or paint to achieve your preferred look. Allow it to dry completely.
- For added protection, apply a polyurethane finish or sealant. This will help guard against scratches and spills.
- Once the finish is dry, you can move your bookshelf to its desired location in your home.
Congratulations! You’ve built a custom bookshelf that showcases your favorite books and adds character to your space.
FAQs
1. How long does it take to build a custom bookshelf?
The time required to build a custom bookshelf can vary based on your experience and design complexity. Generally, it can take anywhere from a few hours to a couple of days, especially if you include drying times for glue and finishes.
2. What type of wood should I use for a bookshelf?
Plywood or MDF are popular choices for bookshelves due to their durability and cost-effectiveness. If you prefer a more premium look, hardwoods like oak or maple can be used, but they are more expensive.
3. Can I customize the size of the bookshelf?
Absolutely! One of the advantages of building your own bookshelf is that you can customize the size to fit your space perfectly. Just be sure to adjust your measurements and materials accordingly.
📚 Related Articles
🔨 Want 16,000+ Woodworking Plans?
Get instant access to step-by-step plans with blueprints and cut lists.
Get Instant Access →