Introduction
Woodworking can be a rewarding hobby or profession, but complex projects can often feel overwhelming. Whether you’re crafting a piece of furniture or building intricate cabinetry, breaking down these projects into manageable steps is essential for success. In this article, we’ll explore effective strategies to simplify your woodworking projects and recommend some essential tools to help you along the way.
Understanding the Project
The first step in any complex woodworking project is to fully understand what you are trying to achieve. This involves:
- Reading Plans: Review detailed plans to get a clear picture of the final product.
- Gathering Inspiration: Look at images or videos of similar projects to visualize your end goal.
- Identifying Materials: Make a list of the wood types, hardware, and finishes required.
One excellent resource for detailed project plans is Ted Woodworking. This site offers thousands of plans that cater to various skill levels, making it easier to find the right project for you.
Breaking Down the Project
Once you have a clear understanding of your project, it’s time to break it down into manageable steps. Here’s how to do it:
1. Create a Step-by-Step Plan
Divide your project into smaller tasks. For example:
- Design and planning
- Material acquisition
- Cutting and shaping wood
- Assembly
- Finishing
By creating a detailed plan, you can focus on one task at a time, reducing feelings of overwhelm.
2. Set Clear Goals and Deadlines
Establish specific goals for each phase of your project. Consider the following:
- How much time can you dedicate each week?
- What is your deadline for completing the project?
Creating deadlines for each task will help keep you motivated and on track.
3. Gather Your Tools
Having the right tools is crucial for successfully completing any woodworking project. Here are some essential tools to consider:
Table Saw
The table saw is a staple in most woodworking shops. It allows for precise cuts and can handle large pieces of wood easily.
- Pros: Highly accurate, versatile for various cuts.
- Cons: Can be expensive and requires space.
Router
A router is an excellent tool for adding decorative edges and hollowing out areas in wood.
- Pros: Versatile, great for joinery and edge work.
- Cons: Can be intimidating for beginners.
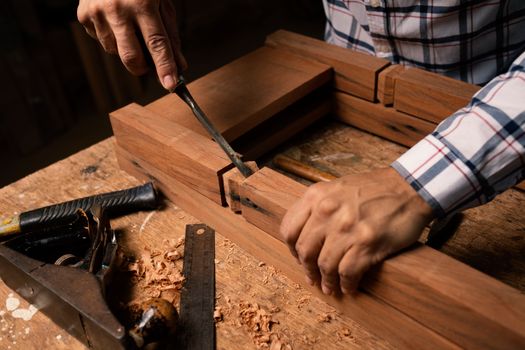
Chisels
Chisels are essential for detailed work and corrections, especially in joinery.
- Pros: Affordable, precise control.
- Cons: Requires regular sharpening and maintenance.
Drill Press
A drill press provides accuracy for drilling holes, which is crucial in many woodworking projects.
- Pros: Consistency in hole depth and spacing.
- Cons: Takes up more space than a handheld drill.
Assembling the Project
After you have completed your individual tasks, it’s time to assemble your project. Follow these tips:
- Dry Fit: Assemble your pieces without glue first to ensure a proper fit.
- Use Clamps: Clamps will help hold pieces together as the glue dries.
- Follow the Plan: Stick to your step-by-step plan to avoid missing steps.
Finishing Touches
Once your project is assembled, it’s time for finishing. Sanding, staining, and sealing will enhance your project’s appearance and durability. Here are some tips:
- Sanding: Start with a coarse grit and progress to finer grits for a smooth finish.
- Staining: Test stains on scrap wood before applying them to your project.
- Sealing: Use a protective finish like polyurethane to protect the wood.
Conclusion
Breaking down complex woodworking projects into manageable steps can make the process more enjoyable and less daunting. By understanding your project, setting clear goals, gathering the right tools, and following a step-by-step approach, you can successfully create beautiful woodworking pieces. Don’t forget to check out Ted Woodworking for a wealth of project plans that can help you get started on your next woodworking adventure!
FAQ
1. What is the best way to start a woodworking project?
The best way to start is by choosing a project that matches your skill level, gathering your materials and tools, and creating a detailed plan.
2. How do I choose the right wood for my project?
Consider the purpose of your project, the wood's durability, and its aesthetic qualities. Hardwoods are often used for furniture, while softwoods are great for less formal projects.
3. Can beginners successfully complete complex woodworking projects?
Yes, beginners can complete complex projects by breaking them down into smaller tasks, taking their time, and following detailed plans from resources like Ted Woodworking.
📚 Related Articles
🔨 Want 16,000+ Woodworking Plans?
Get instant access to step-by-step plans with blueprints and cut lists.
Get Instant Access →