Introduction
Building a wooden shed can be a rewarding project, especially for those who enjoy working with their hands. While many may think power tools are essential for such a task, it is entirely possible to construct a sturdy wooden shed using only hand tools. In this guide, we will walk you through the process step-by-step, ensuring that even beginners can tackle this project with confidence.
Essential Tools for Shed Building
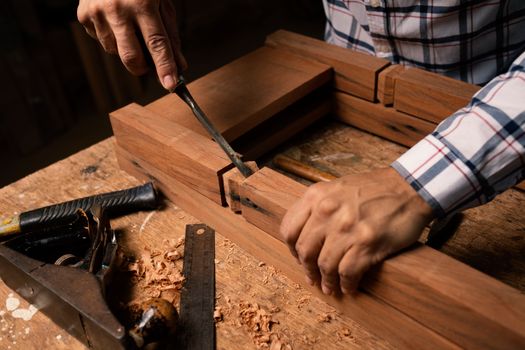
Before diving into the construction, it's important to gather the right tools. Here’s a list of essential hand tools you will need:
- Hand saw: A crosscut saw and a rip saw are ideal for cutting wood.
- Chisels: A set of chisels for finer cuts and joints.
- Hand plane: To smooth out wood surfaces and ensure a snug fit.
- Hammers: A claw hammer for driving nails and a mallet for chiseling.
- Square: To ensure your corners are at a perfect right angle.
- Tape measure: For accurate measurements.
- Level: To ensure your shed is built evenly.
- Drill and bits: A hand drill will suffice for making pilot holes.
- Wood glue: For added strength in joins.
- Safety gear: Safety glasses and gloves for protection.
Step-by-Step Guide to Building a Wooden Shed
Step 1: Planning and Design
Start by planning the size and design of your shed. Sketch out your ideas and consider how you will use the space. You might want to refer to resources like Ted Woodworking, which provides detailed plans and designs. Once you have a plan, create a materials list.
Step 2: Preparing the Site
Choose a suitable location for your shed, ideally a flat area with good drainage. Clear the site of any debris and vegetation. You may want to mark out the dimensions of your shed with stakes and string.
Step 3: Building the Foundation
A sturdy foundation is crucial for your shed’s longevity. You can create a simple foundation using concrete blocks or treated lumber. Make sure it is level and supports the shed's weight evenly.
Step 4: Constructing the Frame
Using your hand saw, cut the lumber to the dimensions specified in your plans. Assemble the frame using nails and wood glue for added strength. Remember to check for squareness with your square as you go.
Step 5: Adding Walls
Once the frame is complete, it's time to add the walls. Cut your wall panels from plywood or boards, and attach them to the frame using nails. Make sure the walls are plumb by using your level.
Step 6: Installing the Roof
The roof can be built using similar framing techniques. Use a hand saw to cut rafters and cover them with plywood or shingles as per your design. Ensure that the roof has a slight pitch to allow for rain runoff.
Step 7: Finishing Touches
With the structure in place, you can now add doors, windows, and any other features you desire. Sand down rough edges and consider applying a weatherproof finish to protect your shed from the elements.
Maintenance Tips for Your Wooden Shed
To ensure the longevity of your wooden shed, consider the following maintenance tips:
- Regularly check for signs of rot or pests.
- Repaint or re-stain every few years to protect the wood.
- Keep the area around the shed clear of debris to prevent moisture build-up.
Conclusion
Building a wooden shed using only hand tools is not only feasible but also a gratifying experience. With careful planning and the right tools, you can create a functional and attractive addition to your property. Remember to take your time, enjoy the process, and refer to resources like Ted Woodworking for guidance.
FAQ
1. How long will it take to build a wooden shed using hand tools?
The time it takes to build a wooden shed can vary greatly depending on your experience level, the complexity of the design, and the size of the shed. On average, it can take anywhere from a weekend to a couple of weeks.
2. Do I need any special skills to build a shed with hand tools?
Basic woodworking skills such as measuring, cutting, and assembling are beneficial. However, this guide is designed for beginners, and with patience and practice, you can learn as you go.
3. Can I customize my shed design?
Absolutely! Customizing your shed design to suit your needs and style is part of the fun. Use your initial plans as a starting point and feel free to make adjustments as desired.
📚 Related Articles
🔨 Want 16,000+ Woodworking Plans?
Get instant access to step-by-step plans with blueprints and cut lists.
Get Instant Access →