Introduction
\nBuilding a garden bench is a rewarding project that can enhance your outdoor space without requiring advanced woodworking skills. This beginner-friendly guide will walk you through the steps to create a sturdy, attractive DIY garden bench using basic tools. Whether you're looking to add a cozy seating area or a stylish focal point in your garden, this project is perfect for you.
\nTools and Materials Needed
\nBefore you start, gather the following tools and materials:
\n- \n
- Tools: \n
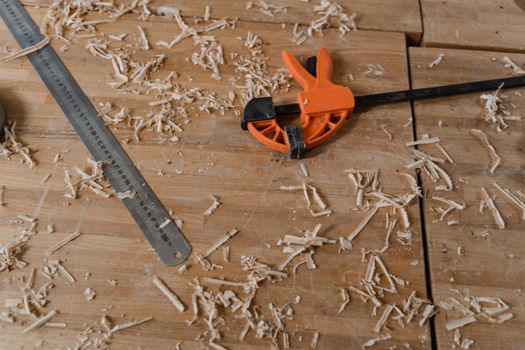
- Measuring tape \n
- Circular saw or hand saw \n
- Drill with drill bits \n
- Wood screws \n
- Screwdriver \n
- Sandpaper (medium and fine grit) \n
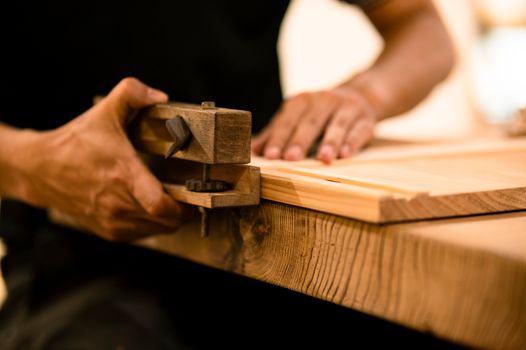
- Clamps \n
- \n
- Materials: \n
- Pressure-treated lumber (2x4s and 2x6s) \n
- Wood glue (optional) \n
- Wood finish or outdoor paint (optional) \n
Step-by-Step Instructions
\nStep 1: Design Your Bench
\nBefore cutting any wood, sketch out your design. A simple garden bench typically has a seat height of about 18 inches and a depth of 16-20 inches. You can customize the length based on your space, but a common size is around 4-6 feet. You can also use plans from resources like Ted Woodworking for more detailed designs.
\nStep 2: Cut the Lumber
\nUsing your measurements, cut the lumber as follows:
\n- \n
- Two pieces of 2x4 for the bench's legs (about 18 inches each) \n
- Two pieces of 2x4 for the bench's support (about 4 feet each) \n
- Two pieces of 2x6 for the seat (about 4-6 feet each, depending on your design) \n
- Optional: Additional 2x4s for backrest support if desired (about 2-3 feet each) \n
Step 3: Assemble the Frame
\nStart by assembling the frame:
\n- \n
- Take the two leg pieces and attach the support pieces across the top using wood screws. This will create a rectangular frame. Ensure everything is square by measuring the diagonals. \n
- Next, attach the legs to the frame using screws. Make sure the legs are perpendicular to the frame for stability. \n
- If you’re adding a backrest, attach the vertical supports to the back of the frame now. \n
Step 4: Attach the Seat
\nNow it's time to attach the seat:
\n- \n
- Place the 2x6 seat boards on top of the frame, evenly spaced. \n
- Secure each board with screws, ensuring they are flush with the frame. You can use wood glue for extra stability. \n
Step 5: Sand the Bench
\nOnce the bench is assembled, it's important to sand down any rough edges to prevent splinters. Start with medium grit sandpaper and finish with fine grit for a smooth surface.
\nStep 6: Finish Your Bench
\nTo protect your bench from the elements, consider applying a wood finish or outdoor paint. This will not only enhance the appearance but also prolong the life of your bench.
\nFinal Touches
\nAfter the finish has dried, place your bench in your desired location. You can add cushions for extra comfort and enjoy your new garden seating!
\nConclusion
\nBuilding a DIY garden bench is an excellent project for any beginner. With basic tools and materials, you can create a functional and beautiful addition to your outdoor space. Remember, resources like Ted Woodworking can help you with plans and inspiration for future projects.
\nFAQs
\n1. How much will it cost to build a garden bench?
\nThe cost will depend on the materials you choose, but you can expect to spend anywhere from $50 to $150 for a simple bench using pressure-treated lumber.
\n2. Do I need special skills to build a garden bench?
\nNo special skills are required! This project is designed for beginners, and as long as you follow the steps carefully, you should have no trouble creating your bench.
\n3. How long will it take to build a garden bench?
\nTypically, you can complete this project in a few hours, not including drying time for finishes. Plan for a full day if you're working at a leisurely pace.
📚 Related Articles
🔨 Want 16,000+ Woodworking Plans?
Get instant access to step-by-step plans with blueprints and cut lists.
Get Instant Access →