Introduction
Building your own rustic dining table can be a rewarding project that enhances your home and showcases your craftsmanship. Using basic materials like 2x4s, you can create a sturdy and beautiful table that will last for years. In this guide, we will walk you through the step-by-step process of building a rustic dining table, even if you are a beginner.
Tools and Materials Needed
Before you start, gather the following tools and materials:
- Tools:
- Measuring tape
- Circular saw or hand saw
- Drill with drill bits
- Screwdriver
- Square
- Sandpaper (80, 120, and 220 grit)
- Clamps
- Wood glue
- Materials:
- 8 – 2x4 boards (length will depend on desired table size)
- Wood screws (3-inch screws are recommended)
- Wood finish or paint (optional)
Step 1: Plan Your Table
Decide on the dimensions of your dining table. A common size for a rectangular dining table is 72 inches long by 36 inches wide. You can adjust the size based on your space and needs. Sketch a simple plan, or check out resources like Ted Woodworking for detailed plans and inspiration.
Step 2: Cut the Wood
Using your measuring tape and saw, cut the 2x4s according to your desired dimensions. For a basic table, you will need:
- 4 pieces for the tabletop (2x4s, 72 inches long)
- 4 pieces for the table legs (2x4s, 30 inches long)
- 4 pieces for the apron (2x4s, 36 inches long)
Ensure your cuts are straight and clean. Use a square to check your corners for accuracy.
Step 3: Assemble the Tabletop
Lay the four pieces of the tabletop side by side. Apply wood glue along the edges where they meet, then clamp them together. This will create a solid surface. Allow the glue to dry according to the manufacturer's instructions.
Step 4: Construct the Table Legs
Take two of the 30-inch 2x4s and position them in an upright position. Using your square, attach the apron pieces (36 inches long) to the legs using wood screws, forming a rectangular frame. Repeat this step for the other two legs and apron pieces. You should now have two rectangular frames.
Step 5: Attach the Legs to the Tabletop
Once the tabletop is dry, flip it upside down. Position the two leg frames at each end of the tabletop. Center them and use screws to secure them in place. Make sure they are tightly fastened for stability.
Step 6: Add the Apron
To further reinforce the structure, attach another apron piece between the two leg frames on each side. This will add support and help prevent wobbling.
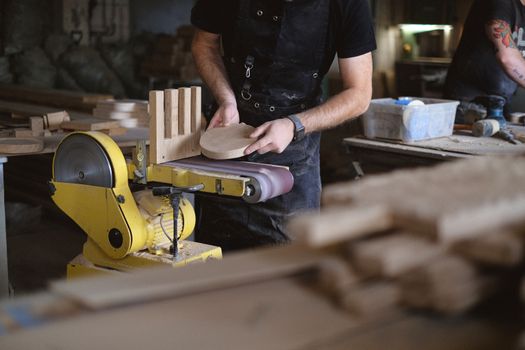
Step 7: Sand the Table
With the table now assembled, it’s time to sand it down. Start with 80-grit sandpaper to remove rough edges and imperfections, then move to 120-grit for smoothing and finish with 220-grit for a fine finish. Make sure to sand along the grain of the wood.
Step 8: Finish Your Table
Choose your desired finish. You can apply a wood stain for color, or a clear coat to enhance the natural beauty of the wood. Apply according to the manufacturer's instructions and allow to dry completely.
Step 9: Final Touches
After the finish has dried, flip the table upright. Inspect it for any rough spots that might need additional sanding or finishing. Your rustic dining table is now ready to be used!
Conclusion
Building a rustic dining table with 2x4s is a simple project that adds charm and functionality to your home. With just a few basic tools and materials, you can create a beautiful piece of furniture that you can be proud of. Remember, practice makes perfect, so don’t hesitate to try your hand at other woodworking projects in the future.
FAQ
1. Can I use different wood types for this project?
Yes, you can use different wood types, but keep in mind that the finish and durability may vary. 2x4s are a cost-effective choice for beginners.
2. How long will it take to build this table?
Depending on your skill level and the time you can dedicate, this project can take between 4 to 8 hours, including drying time for glue and finish.
3. Do I need to seal the table if I will use it for food?
Yes, using a food-safe finish is recommended if you plan to use the table for dining. Ensure that the finish is appropriate for food contact.
📚 Related Articles
🔨 Want 16,000+ Woodworking Plans?
Get instant access to step-by-step plans with blueprints and cut lists.
Get Instant Access →