Introduction
Creating custom wooden signs is a rewarding DIY project that adds a personal touch to your home or garden. However, the finishing process can make or break your project. In this guide, we will explore the best finishing techniques for DIY wooden signs, highlight common mistakes to avoid, and provide troubleshooting tips to ensure your signs look professional.
Choosing the Right Finish
The first step in achieving a beautiful finish is selecting the right type of finish for your wooden sign. Here are some popular options:
- Paint: A versatile option that allows for creativity with colors and designs.
- Stain: Enhances the natural grain of the wood while adding color.
- Varnish: Provides a durable, protective layer that can enhance the wood's appearance.
- Polyurethane: Offers excellent protection against moisture and scratches.
- Oil finishes: Penetrate the wood and provide a natural look while protecting against wear.
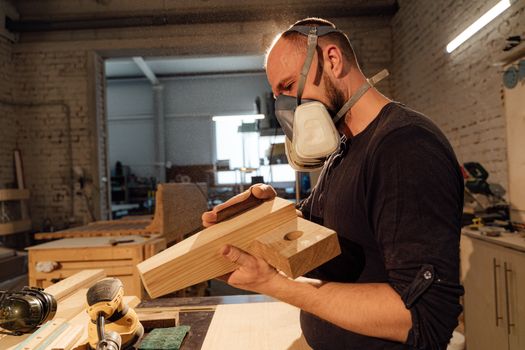
Preparation is Key
Before applying any finish, proper preparation is essential. Here are some common mistakes to avoid:
- Skipping sanding: Always sand your sign with progressively finer grits of sandpaper to create a smooth surface.
- Neglecting dust removal: After sanding, wipe down your sign with a damp cloth to remove dust particles that can ruin the finish.
- Ignoring dry time: Allow your sign to dry completely between coats, as rushing this step can lead to a poor finish.
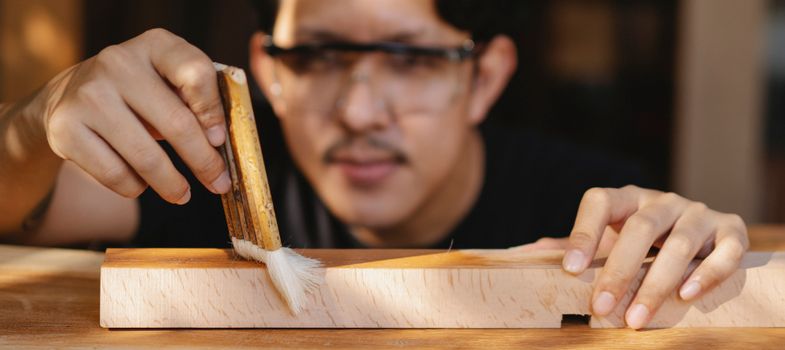
Applying the Finish
Now that your sign is prepared, it's time to apply the finish. Here are some techniques based on the type of finish you choose:
1. Painting
For painted signs, use a high-quality acrylic or latex paint. Apply with a brush or spray gun for a smooth finish. Common mistakes include:
- Applying too thick a coat: This can lead to drips and uneven coverage. Apply multiple thin coats instead.
- Forgetting to prime: A primer can improve paint adhesion, especially on raw wood.
2. Staining
When staining, apply the stain with a cloth or brush and wipe off the excess after a few minutes. Mistakes to avoid include:
- Not testing the stain: Always test the stain on a scrap piece of wood to see how it looks before applying it to your sign.
- Skipping the sealer: After staining, seal your sign with a clear coat to protect the color.
3. Varnishing and Polyurethane
For varnish or polyurethane, use a brush or foam applicator. Common pitfalls include:
- Using the wrong brush: A high-quality brush will help you avoid brush marks.
- Not stirring properly: Always stir your finish gently to avoid bubbles.
Common Troubleshooting Tips
Even with careful preparation and application, issues can arise. Here are some common problems and their solutions:
1. Uneven Finish
If you notice an uneven finish, it could be due to improper application or insufficient mixing. To fix this:
- Lightly sand the affected area and apply another coat of finish.
- Always ensure you mix your finish thoroughly before application.
2. Bubbling
Bubbles in the finish can occur due to applying it too thickly or working in a humid environment. To remedy bubbling:
- Sand the area down once it is dry and apply a thinner coat.
- Work in a well-ventilated area to promote even drying.
3. Yellowing Over Time
Some finishes, particularly oil-based ones, can yellow as they age. To prevent this:
- Use a water-based finish, which tends to remain clear longer.
- Store your signs in a cool, dry place away from sunlight.
Additional Resources
If you're looking for more guidance on woodworking projects, consider checking out Ted Woodworking, a fantastic resource for comprehensive woodworking plans.
Conclusion
Finishing your DIY wooden signs doesn't have to be intimidating. By following the right techniques and avoiding common mistakes, you can achieve a beautiful and durable finish. Remember, preparation is key, and don't hesitate to troubleshoot any issues that arise during the process. Happy woodworking!
FAQ
1. How long should I wait between coats of finish?
Typically, you should wait 2-4 hours between coats, but this can vary depending on the product used. Always refer to the manufacturer's instructions.
2. Can I use a spray finish for my wooden sign?
Yes, spray finishes can provide an even coat and are a great option for achieving a smooth surface on your sign.
3. What is the best finish for outdoor wooden signs?
A weather-resistant finish like marine varnish or an exterior polyurethane is ideal for protecting outdoor wooden signs from the elements.
📚 Related Articles
🔨 Want 16,000+ Woodworking Plans?
Get instant access to step-by-step plans with blueprints and cut lists.
Get Instant Access →