Understanding Wood Finish Application Timing
When embarking on a DIY woodworking project, many enthusiasts focus on the design and construction phases, often overlooking the critical aspect of finishing. The right time to apply wood finish can make all the difference between a project that looks amateurish and one that exhibits a professional sheen. In this article, we will explore the best times to apply wood finish, common mistakes to avoid, and troubleshooting tips to ensure your project turns out beautifully.
Why Timing Matters
Applying wood finish at the right time is crucial for several reasons:
- Adhesion: Finishes adhere better when the wood is at the right moisture content.
- Appearance: Applying finish at the correct stage enhances the natural grain and color of the wood.
- Durability: Proper timing can ensure that the finish cures correctly, leading to improved longevity.
Common Mistakes to Avoid
Many DIYers make mistakes when determining the right time to apply wood finish. Here are some common pitfalls:
1. Finishing Too Soon
One of the most common mistakes is applying wood finish before the wood is adequately prepared. If your project is still wet or hasn’t been sanded properly, the finish may not adhere well, leading to peeling or bubbling.
Tip: Always allow your project to fully dry and cure after cutting or assembly. Sand the surface smooth before applying any finish.
2. Neglecting Environmental Conditions
Humidity and temperature play a significant role in the finishing process. Applying finish in high humidity can lead to a tacky surface that never fully cures, whereas low humidity may cause the finish to dry too quickly, resulting in an uneven coat.
Tip: Aim for a relative humidity level of around 50% and a temperature between 60°F and 80°F for optimal results. If your workshop is too humid, consider using a dehumidifier.
3. Rushing the Finishing Process
Many DIYers are eager to see their projects completed and rush through the finishing steps. This can lead to poor application techniques, such as using the wrong brush or applying too thick a coat.
Tip: Take your time. Allow each coat to dry fully before applying the next, and always follow the manufacturer's instructions regarding application techniques.
When to Apply Wood Finish: The Best Times
Understanding when to apply wood finish can help enhance the overall quality of your project. Here are the best times to consider:
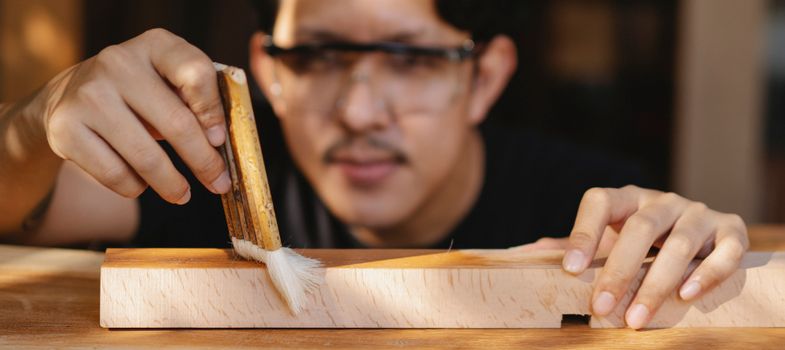
After Sanding
Once your project is sanded to a smooth finish, it is the ideal time to apply wood finish. Ensure that you clean off any dust or debris from the sanding process before proceeding.
Following Wood Preparation
If you have stained your project, wait until the stain is completely dry before applying a finish. This typically takes anywhere from a few hours to a full day, depending on the stain used.
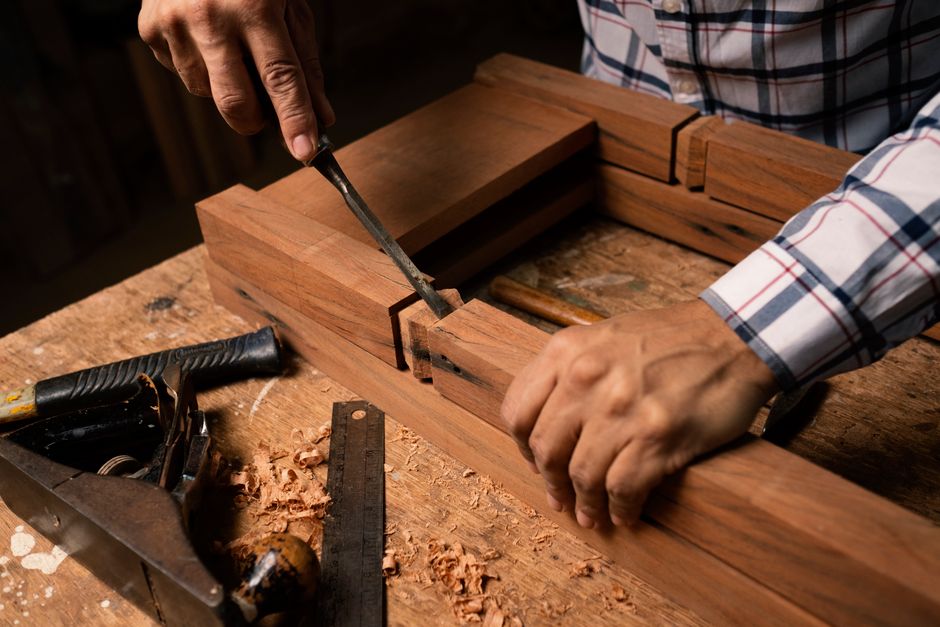
Before the Final Assembly
If your project consists of multiple parts, consider applying a finish to each component before final assembly. This ensures all surfaces are well protected and can be finished uniformly.
Troubleshooting Finishing Issues
Even with the best intentions, issues can arise during the finishing process. Here are some common problems and solutions:
Problem: Bubbling Finish
Cause: Bubbling can occur if the finish is applied too thick or in high humidity.
Solution: Sand down the affected area and reapply a thinner coat in better conditions.
Problem: Uneven Finish
Cause: An uneven finish often results from inadequate sanding or improper application techniques.
Solution: Sand the surface again lightly and apply a new coat using a proper brush or applicator.
Problem: Dust or Debris in Finish
Cause: Dust settling into the finish can mar the appearance of your project.
Solution: Lightly sand the surface once the finish is dry and apply another coat, ensuring the workspace is clean and dust-free.
Conclusion
Applying wood finish at the right time is essential for achieving a professional look in your DIY projects. By avoiding common mistakes and following the tips outlined in this article, you can ensure that your finished pieces not only look great but also stand the test of time. For those looking for plans to guide their woodworking endeavors, consider checking out Ted Woodworking for a comprehensive resource on furniture building.
Frequently Asked Questions
1. How long should I wait to apply a finish after sanding?
It is best to apply the finish immediately after sanding and cleaning the surface. If you wait too long, the wood may absorb moisture or dust, affecting adhesion.
2. Can I apply a finish in cold weather?
It is not recommended to apply finishes in temperatures below 60°F as this can affect drying times and the overall finish quality.
3. What is the best type of finish for beginners?
For beginners, water-based finishes are often recommended due to their ease of use, quick drying times, and easy cleanup.
📚 Related Articles
🔨 Want 16,000+ Woodworking Plans?
Get instant access to step-by-step plans with blueprints and cut lists.
Get Instant Access →