Introduction
Wood finishing is the final touch that transforms your DIY projects from raw wood to beautiful, polished pieces. However, many woodworkers—both novice and experienced—make common mistakes during the finishing process that can ruin their hard work. In this article, we will explore the top wood finishing mistakes to avoid, along with helpful tips and recommended tools to ensure a successful finish.
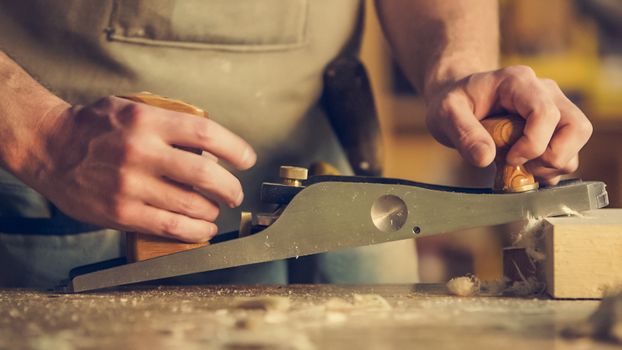
1. Skipping Surface Preparation
One of the most critical steps in achieving a quality finish is proper surface preparation. Many DIY enthusiasts make the mistake of applying finish directly to untreated or poorly sanded wood.
- Tip: Always sand your wood surface with progressively finer grits, starting with 80 or 120 grit, then moving to 220 grit for a smooth finish.
- Recommended Tool: Random Orbital Sander
Pros: Effortlessly removes material and leaves an even surface. Cons: Can be expensive and requires a dust collection system to avoid mess.
2. Not Testing the Finish
Applying a finish without testing it on a scrap piece of wood can lead to unpleasant surprises. Different woods absorb finishes differently, and the final color may not match your expectations.
- Tip: Always test your chosen finish on a scrap piece of the same wood before applying it to your project.
- Recommended Tool: Test Swatch Kit
Pros: Allows you to see the final effect without risking your project. Cons: Requires extra time and materials.
3. Ignoring Temperature and Humidity
Wood finishes can be highly sensitive to environmental conditions. Extreme temperatures or high humidity can affect drying times and the final appearance.
- Tip: Ensure your workspace is within the recommended temperature and humidity range as stated on the finish label.
- Recommended Tool: Digital Hygrometer/Thermometer
Pros: Allows you to monitor conditions accurately. Cons: Requires an initial investment.
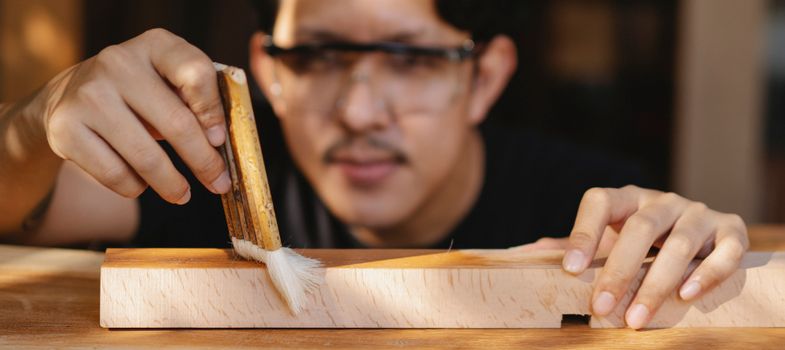
4. Applying Too Thick a Coat
Many DIYers believe that thicker coats of finish will provide better protection and a glossier look. However, this can lead to runs, sags, or a cloudy appearance.
- Tip: Apply multiple thin coats instead of one thick coat, allowing sufficient drying time between each.
- Recommended Tool: High-Quality Brush or Foam Applicator
Pros: Provides a smooth, even application. Cons: Requires more time to complete the project.
5. Failing to Sand Between Coats
Skipping the sanding step between coats can lead to poor adhesion and a rough texture. This is a common mistake that can compromise the finish.
- Tip: Lightly sand between coats with 320 grit sandpaper to ensure a smooth finish.
- Recommended Tool: Sandpaper Block or Sponge
Pros: Ensures better adhesion and a smoother finish. Cons: Adds an extra step to your process.
6. Not Following Manufacturer Instructions
Each wood finish comes with specific instructions for application, drying time, and cleanup. Ignoring these guidelines can lead to disappointing results.
- Tip: Always read and follow the manufacturer’s instructions carefully before starting.
- Recommended Tool: Instruction Manual or Product Guide
Pros: Helps to achieve the best results as intended by the manufacturer. Cons: Requires you to be diligent and organized.
7. Not Using the Right Finish for the Project
Choosing the wrong type of finish for your specific project can lead to problems such as peeling, discoloration, or inadequate protection.
- Tip: Understand the different types of finishes—oil-based, water-based, lacquer, varnish, etc.—and choose the one that suits your project best.
- Recommended Tool: Finish Guide Chart
Pros: Helps in making an informed decision. Cons: May require additional research.
Conclusion
Wood finishing is an art that requires attention to detail and an understanding of the materials involved. By avoiding these common mistakes, you can ensure that your DIY projects turn out beautifully and last for years to come. For those looking for inspiration and high-quality project plans, Ted Woodworking is an excellent resource to consider.
FAQ
- What finish is best for outdoor furniture?
For outdoor furniture, a marine varnish or a high-quality exterior penetrating oil is recommended for its durability against the elements.
- How long should I wait between coats of finish?
This can vary based on the type of finish used, but generally, waiting 2-4 hours between coats is a good rule of thumb.
- Can I use water-based finishes over oil-based finishes?
No, it is not advisable as they do not adhere well to each other. Make sure to stick with the same type for the best results.
📚 Related Articles
🔨 Want 16,000+ Woodworking Plans?
Get instant access to step-by-step plans with blueprints and cut lists.
Get Instant Access →