Introduction
When it comes to woodworking, choosing the right finish for your project can enhance the beauty and durability of the wood. Birch and maple are two popular hardwoods used in furniture making, each with its own unique characteristics. In this article, we will compare the best finishing options for birch and maple wood, helping you make the right choice for your next project.
Understanding Birch and Maple Wood
Before diving into finishing options, it’s crucial to understand the properties of birch and maple wood.
Birch Wood
Birch is a light-colored wood known for its fine grain and smooth texture. It is often used in cabinetry, furniture, and plywood. Birch is relatively easy to work with, making it a favorite among beginners.
Maple Wood
Maple, on the other hand, is a denser hardwood that offers a beautiful, smooth finish. It has a slightly creamy color with subtle grain patterns. Maple is also durable and resistant to wear, making it an excellent choice for furniture that will see a lot of use.
Choosing the Right Finish
The finish you choose can dramatically affect the appearance and longevity of your wood piece. Here are some popular finishing options for both birch and maple:
1. Oil Finishes
- Linseed Oil: Enhances the natural grain and color of wood. Apply with a clean cloth, allow to soak, and wipe off excess.
- Tung Oil: Provides a water-resistant finish. It requires multiple coats for best results, allowing each coat to cure before applying the next.
Both oil finishes are easy to apply and can be used on birch and maple, although they may darken the wood slightly.
2. Varnish
Varnish is a popular choice for protecting furniture. It comes in various sheens, from matte to glossy. When applying varnish, follow these steps:
- Sand the wood surface smoothly (start with 120-grit and move to 220-grit).
- Apply a thin coat with a brush or foam applicator.
- Allow to dry completely before sanding lightly with 220-grit sandpaper.
- Repeat for 2-3 coats for optimal protection.
3. Polyurethane
Polyurethane is a durable finish that provides excellent protection against moisture and wear. It’s available in both oil-based and water-based formulations:
- Oil-Based Polyurethane: Offers a warm tone, ideal for birch, but takes longer to dry.
- Water-Based Polyurethane: Dries quickly and maintains the natural color of maple.
Apply similarly to varnish, ensuring to sand between coats for a smooth finish.
4. Shellac
Shellac is a natural finish that provides a warm glow and works well on both birch and maple. It dries quickly and can be applied with a brush or a rag. However, it is less durable than other finishes and may not be suitable for high-traffic areas.
5. Lacquer
Lacquer is another excellent option for achieving a high-gloss finish. It dries quickly and can be sprayed on for a smooth coat. Be cautious, as it requires proper ventilation and safety measures during application.
Step-by-Step Finishing Guide
Now that you know the different finishing options available, here’s a simple step-by-step guide to finishing your birch or maple project:
Step 1: Prepare the Surface
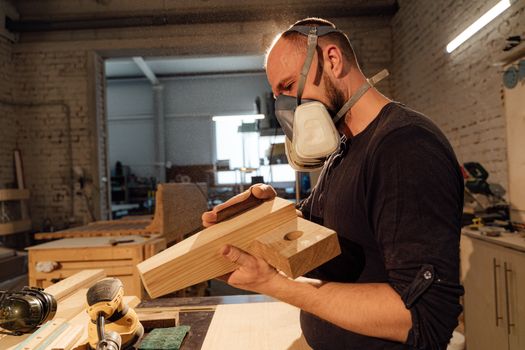
- Sand the wood using progressively finer grits (start with 120-grit, then 180-grit, and finish with 220-grit).
- Remove dust with a cloth or vacuum.
Step 2: Choose Your Finish
Select a finish based on the wood type and desired look. For birch, consider oil or varnish, while maple looks stunning with polyurethane or lacquer.
Step 3: Apply the Finish
- Follow the manufacturer’s instructions for application methods.
- Apply thin, even coats and allow them to dry completely.
Step 4: Sand Between Coats
For a smooth finish, lightly sand between coats to remove imperfections.
Step 5: Final Coat
Once satisfied with the number of coats, apply a final coat and allow it to cure fully before using the furniture.
Resources for Woodworking Plans
If you're looking for detailed plans for your woodworking projects, consider checking out Ted Woodworking. They offer a wide range of plans suitable for all skill levels.
Conclusion
Choosing the best finishing option for birch vs. maple wood depends on your project needs and personal preferences. By understanding the properties of each wood type and following the steps outlined, you can achieve a beautiful and durable finish for your furniture.
FAQ
1. Can I use the same finish on both birch and maple wood?
Yes, many finishes can be used on both birch and maple, but the appearance may vary slightly due to the wood's natural color and grain.
2. How many coats of finish should I apply?
Generally, 2-3 coats are recommended for optimal protection and appearance, though you can apply more for added durability.
3. Do I need to sand between coats of finish?
Yes, lightly sanding between coats helps to ensure a smooth finish and proper adhesion of subsequent layers.
📚 Related Articles
🔨 Want 16,000+ Woodworking Plans?
Get instant access to step-by-step plans with blueprints and cut lists.
Get Instant Access →