Best Wood Finishing Techniques for Exotic Hardwoods: Tips and Tricks
When it comes to woodworking, finishing is often the most crucial step in showcasing the beauty of your projects. Exotic hardwoods, with their unique colors and grain patterns, require special attention to bring out their natural allure. In this article, we will guide you through beginner-friendly finishing techniques that will help you achieve stunning results with minimal tools.
Understanding Exotic Hardwoods
Exotic hardwoods, such as Teak, Mahogany, or Rosewood, are prized for their durability and beauty. Each type has distinct characteristics that affect how it should be finished. Understanding the wood you are working with is essential to achieving the best results.
Essential Tools and Materials
Before diving into the finishing process, ensure you have the following tools and materials:
- Sandpaper (grits 120, 220, and 320)
- Wood conditioner (optional, but recommended for soft woods)
- Finishing oil (such as Tung or Danish oil)
- Varnish or polyurethane for a more robust finish
- Brushes or rags for application
- Clean cloth for wiping
- Protective gear (gloves, mask, goggles)
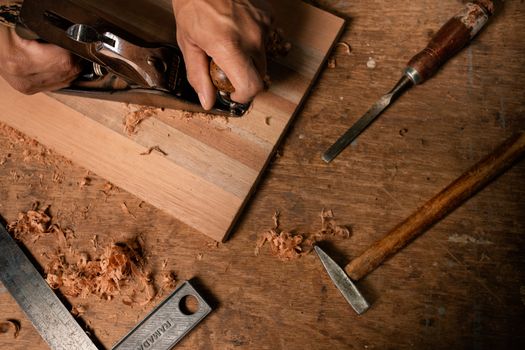
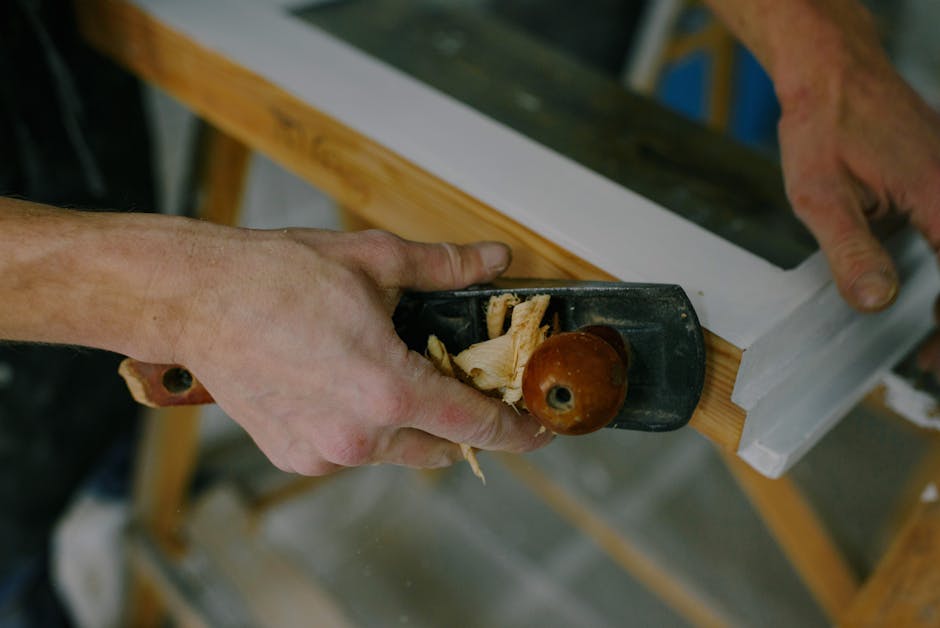
Step-by-Step Finishing Process
Follow these steps for a successful finish on your exotic hardwood furniture:
1. Prepare the Surface
The first step in finishing is surface preparation. Start by sanding the wood with 120-grit sandpaper to remove rough spots and imperfections. Gradually progress to 220-grit, ensuring the surface is smooth and even.
2. Clean the Wood
After sanding, it's essential to remove any dust and debris. Use a clean cloth to wipe down the surface thoroughly. This step will prevent dust from getting trapped in your finish, leading to a smoother final appearance.
3. Apply Wood Conditioner (Optional)
If you are working with softer exotic hardwoods, consider applying a wood conditioner. This product helps to even out the absorption of stains and finishes, ensuring a uniform look. Apply the conditioner according to the manufacturer's instructions and allow it to dry completely.
4. Choose Your Finish
Next, decide on the type of finish you want to use. For a natural look, finishing oils are an excellent choice. They penetrate the wood, enhancing its grain and color without forming a thick layer on the surface.
If you prefer a more durable finish, consider varnish or polyurethane. These finishes create a protective layer that resists scratches and moisture. However, they can mask some of the wood's natural beauty.
5. Application of the Finish
For oils, use a clean rag to apply a generous amount. Rub the oil into the wood in the direction of the grain, ensuring even coverage. Allow it to soak in for about 10-15 minutes, then wipe off any excess with a clean cloth.
When using varnish or polyurethane, use a high-quality brush to apply a thin coat. Brush in the direction of the grain and avoid over-brushing to prevent bubbles. Allow the first coat to dry according to the manufacturer’s guidelines. Sand lightly with 320-grit sandpaper between coats to achieve a smooth finish.
6. Multiple Coats for Best Results
For oils, you may want to apply multiple coats, allowing each to dry before the next application. For varnish and polyurethane, 2-3 coats are typically sufficient for a durable finish. Remember to sand lightly between coats for the best adhesion and appearance.
7. Final Touches
Once you have achieved the desired number of coats, let your piece cure for a few days before using it. This step allows the finish to harden completely, ensuring its longevity.
Helpful Tips and Tricks
- Test on Scrap Wood: Always test your finish on a scrap piece of the same wood before applying it to your project.
- Work in a Dust-Free Environment: Use a clean, dust-free space to avoid imperfections in your finish.
- Use Proper Ventilation: Ensure your workspace is well-ventilated, especially when using oil-based finishes.
- Keep Tools Clean: Clean your brushes and rags immediately after use to prolong their life.
For those looking to expand their woodworking projects, check out Ted Woodworking. They offer a wealth of plans and resources that can help you make the most of your woodworking journey.
Conclusion
Finishing exotic hardwoods can seem daunting, but with the right techniques and tools, you can achieve stunning results. Follow these steps, and don’t hesitate to experiment with different finishes to find what works best for your style. Happy woodworking!
FAQs
1. What is the best finish for exotic hardwoods?
The best finish depends on the desired look and usage of the piece. Oils like Tung or Danish oil provide a natural look, while varnishes offer more durability.
2. How many coats of finish should I apply?
For oils, 2-3 coats are often recommended. For varnish or polyurethane, 2-3 coats with light sanding in between usually suffice.
3. Can I use the same techniques on softwoods?
While many techniques can be applied to softwoods, softer woods may require a wood conditioner to ensure an even finish.
📚 Related Articles
🔨 Want 16,000+ Woodworking Plans?
Get instant access to step-by-step plans with blueprints and cut lists.
Get Instant Access →