Should I Finish My DIY Wood Projects Before or After Assembly?
When it comes to woodworking, one of the most common questions beginners ask is whether to finish DIY wood projects before or after assembly. The answer isn't straightforward, as both methods have their advantages and disadvantages. This guide aims to help you make an informed decision based on your project needs.
Understanding the Finishing Process
Finishing involves applying a protective coating to the wood surface to enhance its appearance and durability. Common finishes include stains, varnishes, paints, and oils. Before deciding when to finish your project, consider the following:
- Type of Finish: Some finishes are thinner and can easily penetrate into wood; others are thicker and require more careful application.
- Project Complexity: More complex assemblies may have hard-to-reach areas that can complicate finishing.
- Desired Appearance: The final look you want to achieve might dictate when you apply the finish.
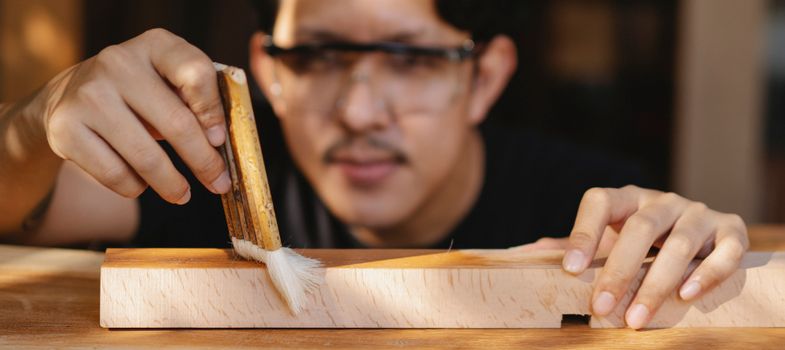
Finishing Before Assembly
Finishing your pieces before you assemble them can be a great option for simpler projects. Here are some advantages:
- Ease of Application: It’s often easier to apply finishes to flat surfaces than to tight corners.
- Uniformity: Achieving a consistent finish across all parts is simpler when they are not assembled.
- Less Mess: You can control the finish application better without worrying about other parts getting in the way.
However, there are some downsides to consider:
- Handling Marks: As you assemble the project, you may accidentally mar the finish.
- Joint Areas: Areas that will be glued may not get a finish, which could lead to issues later on.
Finishing After Assembly
On the flip side, finishing after assembly is another common approach, especially for more intricate projects. Here are some benefits:
- Better Coverage: You can ensure that all parts, including joints and corners, are fully covered with finish.
- Reduced Damage Risk: There is less chance of damaging a finished surface during assembly.
- Alignment and Adjustments: Any adjustments made during assembly can be seamlessly finished without worry.
However, finishing after assembly can present its own challenges:
- Hard-to-Reach Areas: Some corners or joints may be difficult to access with a brush or spray.
- Increased Time and Effort: You may spend more time masking off areas to prevent overspray or drips.
Finding a Middle Ground
For many woodworkers, a hybrid approach may be the best solution. Here’s a simple step-by-step guide to help you navigate the finishing process:
- Prepare Your Wood: Sand all surfaces smooth using a random orbit sander or sanding block. Start with a coarser grit and progress to a finer grit.
- Test Your Finish: Before applying finish to your project, test it on a scrap piece of wood to see how it reacts.
- Finish Select Parts: Consider finishing smaller, flat components before assembly. For example, if you're building a table, finish the tabletop and legs separately.
- Assemble the Project: Once the initial pieces are finished and cured, assemble the project carefully.
- Final Finish: After assembly, touch up any areas that were missed, or apply a final coat to the entire project.
This method allows for the best of both worlds, ensuring that you have a beautiful finish while minimizing the risk of damage during assembly.
Using Quality Plans
When starting your DIY wood projects, having high-quality plans can significantly ease the process. Resources like Ted Woodworking offer a vast array of plans and step-by-step instructions that can help you navigate through your projects with confidence.
Conclusion
Ultimately, the decision of when to finish your DIY wood projects—before or after assembly—depends on the specific requirements of your project and your personal preference. By understanding the pros and cons of each method, you can choose the best approach for your woodworking endeavors.
Frequently Asked Questions
1. Can I use different finishes on the same project?
Yes, you can use different finishes, but ensure they are compatible with each other. Always test on a scrap piece first.
2. How do I prevent brush marks when finishing?
Use a high-quality brush and apply the finish in thin coats. Sand lightly between coats to achieve a smooth finish.
3. What should I do if I accidentally damage the finish during assembly?
Touch up the area with the same finish you used and allow it to cure properly before using the piece.
📚 Related Articles
🔨 Want 16,000+ Woodworking Plans?
Get instant access to step-by-step plans with blueprints and cut lists.
Get Instant Access →