Can I Layer Different Stains on My Wood Projects? Explained
If you’ve ever wondered whether you can layer different stains on your woodworking projects, you’re not alone. Many woodworkers seek to enhance the depth and richness of their finishes by combining various stain colors. This guide will explore the intricacies of layering stains, the tools you'll need, and the pros and cons of different techniques.
Understanding Wood Stains
Wood stains come in two primary types: oil-based and water-based. Oil-based stains penetrate the wood deeply and take longer to dry, while water-based stains dry quickly and are easier to clean up. Understanding these differences is crucial when considering layering stains, as they can react differently when applied over one another.
The Basics of Layering Stains
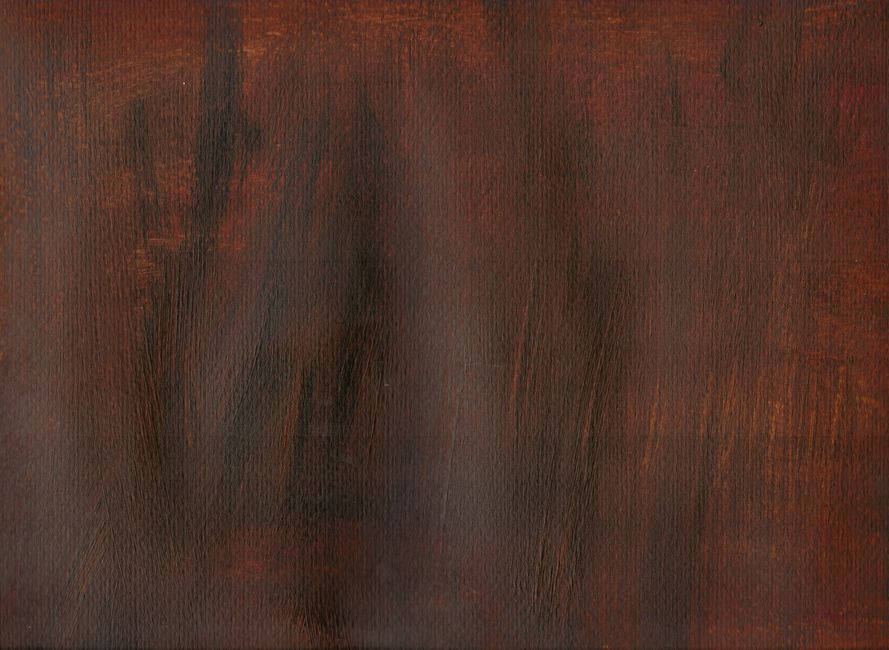
Layering stains can create beautiful, complex colors and enhance the wood grain. However, it is essential to follow specific guidelines to avoid common pitfalls. Here are some critical points to consider:
- Compatibility: Always check if the stains you plan to layer are compatible. For example, layering an oil-based stain over a water-based stain can lead to poor adhesion and unattractive results.
- Drying Time: Allow each stain layer to dry completely before adding the next. This can take anywhere from a few hours to several days, depending on the type of stain and environmental conditions.
- Testing: Before applying multiple layers on your final piece, test the process on scrap wood to see how the colors interact.
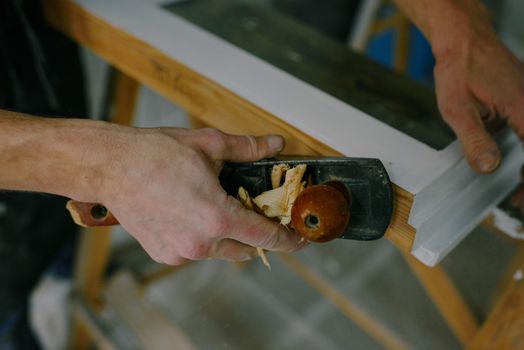
Tools You Will Need
To achieve the best results when layering stains, having the right tools is essential. Here are some recommended tools along with their pros and cons:
1. Quality Brushes
- Pros: A good brush allows for smooth application and even distribution of stain.
- Cons: Quality brushes can be costly, and they require proper cleaning and maintenance.
2. Foam Applicators
- Pros: Foam applicators are affordable, easy to use, and can provide a smooth finish without brush marks.
- Cons: They may not hold up well when applying thicker stains.
3. Stain Rags
- Pros: Rags allow for better control when wiping off excess stain, ensuring an even finish.
- Cons: Disposable rags can generate waste, and using them improperly can lead to streaks.
4. Sanding Tools
- Pros: Sanding helps smooth the surface before applying each stain layer, promoting better adhesion.
- Cons: Over-sanding can damage the wood and remove previous stain layers.
5. Stain Sprayer
- Pros: A stain sprayer can provide an even coat and reduce the risk of brush marks.
- Cons: They can be expensive, require setup time, and may need a learning curve to master.
Recommended Stain Products
Using high-quality stains is crucial for successful layering. Here are some brands to consider:
- Minwax: Their oil-based stains are popular for their deep penetration and rich colors.
- Varathane: Known for their water-based stains, Varathane offers a variety of colors that dry quickly and clean easily.
- General Finishes: This brand provides exceptional water-based stains that are easy to layer and give a beautiful finish.
Tips for Successful Stain Layering
- Start with a Base Color: Begin with a lighter base stain to allow the subsequent layers to shine through.
- Use a Sealer: Consider applying a clear sealer between layers for added protection and depth.
- Experiment: Don’t hesitate to mix stains to create custom colors that suit your project.
Conclusion
Layering different stains can elevate your woodworking projects, adding depth and character to your finishes. With the right tools and techniques, you can achieve stunning results. For those looking to expand their woodworking knowledge and skills, Ted Woodworking offers an extensive collection of plans that can guide you through any project.
FAQ
1. Can I layer oil and water-based stains?
It is generally not recommended to layer oil and water-based stains because they may not adhere properly, leading to peeling or flaking.
2. How long should I wait between stain layers?
Allow each stain layer to dry completely, which can take anywhere from a few hours to several days, depending on the product and conditions.
3. What is the best way to apply stain for layering?
Using a high-quality brush or foam applicator is recommended for applying stain. Always wipe off excess stain to prevent a sticky finish.
📚 Related Articles
🔨 Want 16,000+ Woodworking Plans?
Get instant access to step-by-step plans with blueprints and cut lists.
Get Instant Access →